In this guide
A recording can sound broken for two very different reasons. The file may contain clipping, hum, echo, or unwanted voices, or the problem may come from the headphones, speaker, media player, or export path. Before trying audio repair online, a creator should establish which problem exists. Otherwise, a repair pass can spend credits and introduce artifacts into a file that was never damaged.
The practical approach is simple: diagnose first, isolate one audible source at a time, and compare every result with the original. Text-guided separation can help recover dialogue, vocals, instruments, and effects, but it can't recreate every lost transient or remove every trace of an overlapping sound.
Diagnosing Your Audio Problem Before Repairing It
Start with the untouched file. Play the same moment in the application where the problem was first noticed, then open it in another player and check it on another output device. A clipped syllable, hum, or burst of distortion that appears at the same timestamp everywhere is probably embedded in the recording. A glitch that changes or disappears between devices points more strongly to playback, routing, or the player itself.
This check matters for remote interviews, livestream captures, and exported video audio. If only the exported file has the fault, compare the export settings with the original recording before trying separation.
A quick diagnostic sequence
Replay the same passage. Note the exact word, drum hit, or frame where the problem occurs.
Use another application. Avoid judging the file through only the editor or browser that opened it first.
Change the output path. Check headphones, speakers, and another device if available.
Compare the source and export. If only the exported video sounds wrong, return to the earlier audio or editing stage.
Preserve the original. Make a working copy before any irreversible processing.
Practical rule: If the fault follows the file across players and devices, repair the recording. If it follows one playback setup, troubleshoot that setup first.
Listen for the defect in isolation, but also hear the surrounding material. A low buzz may be part of the room tone. A thin voice may result from the playback system rather than excessive noise reduction. The audio cleanup resources can help frame that distinction before a creator commits to a repair pass.
Understanding How Text-Guided Isolation Works
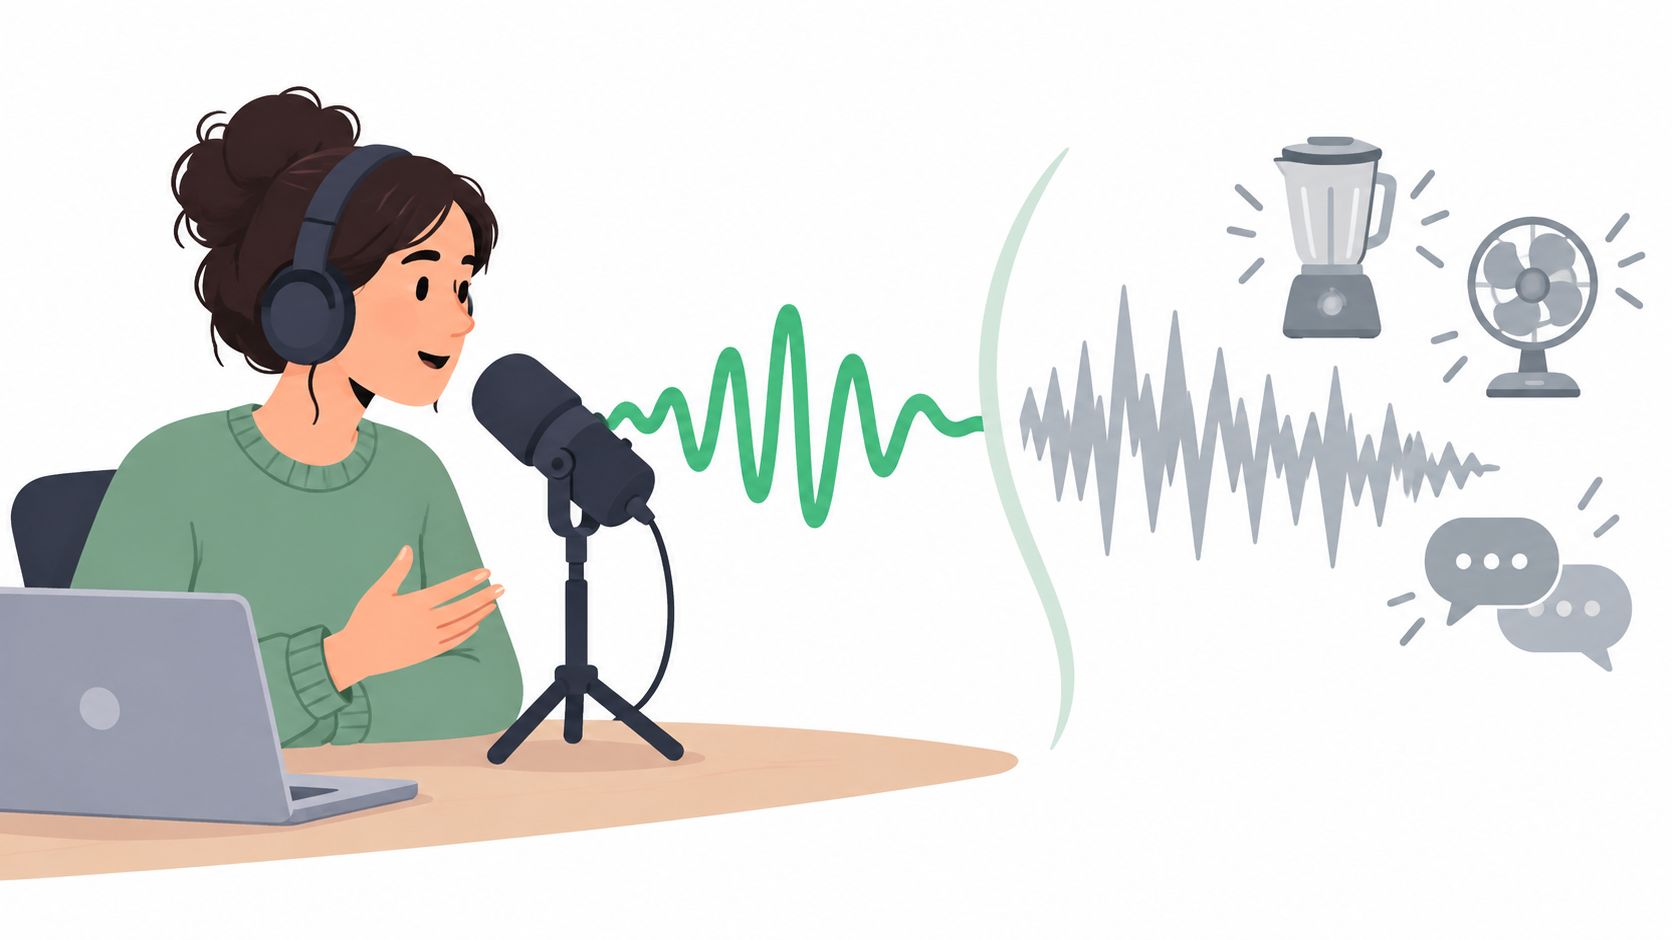
Text-guided isolation isn't the same as applying a broad noise filter. The user describes one audible source, and a separation system attempts to retain that target while leaving the rest of the recording behind. A prompt such as “spoken voice,” “acoustic guitar,” or “door closing” identifies the material that should receive attention.
The output is usually easier to understand as two listening options:
Isolated sound keeps the source named in the prompt.
Background audio keeps the remaining recording after that target is removed.
That distinction changes the correct workflow. For dialogue repair, the isolated spoken voice is usually the file to inspect. For karaoke, the target is vocals, but the desired result is the background audio after those vocals have been removed. A practical guide to writing audio isolation prompts can help keep the description specific instead of combining several unrelated sounds.
Why separation has hard limits
A mixed recording contains overlapping time-frequency content. A singer and guitar may share harmonics, while a consonant and cymbal hit may occupy similar transient regions. When those elements overlap, the system has less evidence about which energy belongs to the requested target.
The result can include incomplete target reconstruction, leakage from the original mix, musical noise, or hollow transients. Separation is therefore a selective recovery process, not a promise of a clean extraction.
In practice, the reliable test is listening to the most crowded passage against the original. A vocal may sound acceptable in isolation but lose clarity on an "s" sound, or a drum part may keep its level while losing the attack that makes the hit feel natural.
Common Audio Defects and Prompt Strategies
Different defects need different targets. A prompt should describe the sound that needs to remain or be removed, not the desired emotional result. “Make this professional” gives the system little usable information. “Spoken voice from a two-person interview” is more actionable.
Clipped dialogue
Clipping destroys or reshapes the original peaks, so isolation alone can't fully reconstruct every damaged consonant or transient. A useful prompt is:
“Spoken voice from the interview, including the clipped words.”
Inspect Isolated sound and compare the clipped words with nearby clean speech. If the repaired version sounds smoother but loses consonant definition, it may be better to keep the original for the least damaged phrases and use the isolated output only where it improves intelligibility. Dedicated de-clip tools are more appropriate when the central problem is peak reconstruction rather than separation, as shown in this guide to repairing distorted audio.
Hum and low-frequency rumble
Mains hum often sits around 50 Hz or 60 Hz, depending on the local electrical system, while rumble is commonly associated with content below 80 Hz (Adobe's dialogue cleanup guidance). Isolation can help when the unwanted sound is distinct, but removing low-frequency material too aggressively can thin speech, bass, or room ambience.
A practical prompt for dialogue repair is:
"Spoken voice from the interview."
For a voice recording, inspect Isolated sound to hear the remaining dialogue and check whether hum reduction is improving clarity without thinning breaths, low notes, or plosive-heavy words.
If the goal is to target the electrical hum itself, then inspect Background audio for the remaining recording after that target is removed. This makes it easier to judge how much useful low-frequency content is being taken with it. If the voice becomes hollow, a narrow corrective process or a lighter pass is safer than repeated broad suppression.
Fans, traffic, and nearby voices
For steady environmental noise, name the wanted source:
“Single spoken voice from the podcast interview, excluding fan and traffic noise.”
Inspect Isolated sound for voice clarity, especially during pauses and sibilants. Traffic and fans may be reduced, but they won't always disappear without taking some wanted ambience with them.
Bleed from another instrument or speaker is harder. A prompt such as “lead vocal only” may retain enough of a backing vocal or guitar to create a phasey edge because the sounds share harmonics. For these passages, compare the target during the busiest section, not only during a quiet introduction.
Choosing the Right Output for Your Goal
The same processing pass can produce a useful result or the wrong result, depending on which output gets downloaded. The prompt names the target, but the project determines whether that target should remain.
| Your Goal | Example Target | Output to Inspect |
|---|---|---|
| Keep dialogue | “Spoken voice from the interview” | Isolated sound |
| Remove vocals for karaoke | “Lead and backing vocals” | Background audio |
| Extract an effect | “Door closing in the hallway” | Isolated sound |
| Reduce barking during an interview | “Spoken voice, excluding dog barking” | Isolated sound |
| Create a vocal practice file | “Lead vocal” | Isolated sound |
| Prepare an instrumental backing track | “Vocals from the song” | Background audio |
| Recover a keyboard part | “Acoustic piano” | Isolated sound |
For karaoke, the common mistake is to download the vocal-isolated result. That preserves the vocals, which is the opposite of the intended backing track. The correct sequence is to name vocals, audition Background audio, and check the chorus or other dense section before downloading.
For dialogue, the opposite choice applies. A creator should name “spoken voice” and listen to Isolated sound, then compare pauses, breaths, room tone, and consonant bursts with the original. A result that sounds clean in a sentence can become unnatural when the speaker stops talking.
Match the output to the edit
Remixers may need several separate elements, but isolation isn't automatically the same as a conventional multitrack stem export. The distinction matters when deciding whether a result is suitable for a full remix, a practice part, or a short edit. The stems versus audio isolation guide offers useful context for that choice.
Saturalabs accepts MP3, WAV, MP4, and MOV files up to 50 MB. Check the format and size before uploading, especially for long interviews or video captures. If the file is too large, export a shorter working copy while preserving the original.T
Practical Limitations and Artifacts to Watch For
A separation result can be more intelligible and still be less natural. The common failure is not obvious silence. It's a processed texture that appears only on the difficult material.
Consider a remote interview with a fan behind the guest. The isolated voice may improve the words during steady speech, but the “s” sounds can become watery, and breaths may fade in and out. If the repair is pushed further, the background gets quieter while the voice loses the small changes that make it sound present.
Music creates a different problem. A vocal and guitar may share sustained harmonics, while a snare and consonant occupy similar transient regions. The vocal output may contain a faint guitar residue, and the drum output may lose its initial attack.
What to listen for
Phasey edges: Sustained vowels or cymbals seem to move or swirl in stereo.
Swishy noise: Background texture changes unnaturally between syllables.
Hollow transients: Drum hits, plosives, or door impacts lose their initial body.
Missing sibilance: Speech remains understandable but sounds lisped or dull.
Musical noise: Residual fragments pulse in a way that wasn't present in the source.
Residual leakage: Another voice or instrument remains underneath the target.
The busiest passage is the real test. Quiet sections can make an aggressive repair sound successful, while overlapping harmonics reveal the damage in a chorus, consonant burst, or drum fill.
Compare the isolated output with the original at the same listening level. Check the first words after a pause, sustained notes, overlapping voices, and fast attacks. If the repaired file is cleaner but loses the event that matters to the edit, partial recovery may be preferable to further processing.
Listening remains necessary, particularly when the target and background share harmonics. A number cannot tell an editor whether a particular "t" vanished from a spoken line or whether a snare now feels late and soft.
Building a Repeatable Audio Repair Workflow
A dependable audio repair online workflow has a short decision chain:
Diagnose the source. Replay the file in another application and on another output device. Repair only after the defect follows the recording.
Define one target. Use a prompt such as “spoken voice,” “lead vocal,” “acoustic guitar,” or “door closing.” Don't combine several sources in one request.
Choose the output before processing. Keep dialogue with Isolated sound. Remove vocals for karaoke by inspecting Background audio.
Audit the hard passage. Compare the busiest section with the original, including consonants, breaths, room tone, sustained notes, and transients.
Check the cost. Review the displayed credit cost before downloading, then preserve the original alongside the processed file.
Stop when the result is usable. A cleaner file isn't automatically a better file if the repair removes wanted texture.
This method works across podcast interviews, video dialogue, practice tracks, karaoke preparation, and sound design. It also prevents a common mistake: treating every defect as a noise problem when the source may be clipped, incorrectly exported, or merely playing back badly.
Saturalabs lets creators upload supported audio or video, describe one audible source in plain language, and compare Isolated sound with Background audio before downloading. For a targeted repair workflow, visit Saturalabs, verify the file first, and audition the most difficult passage before committing credits.