
In this guide
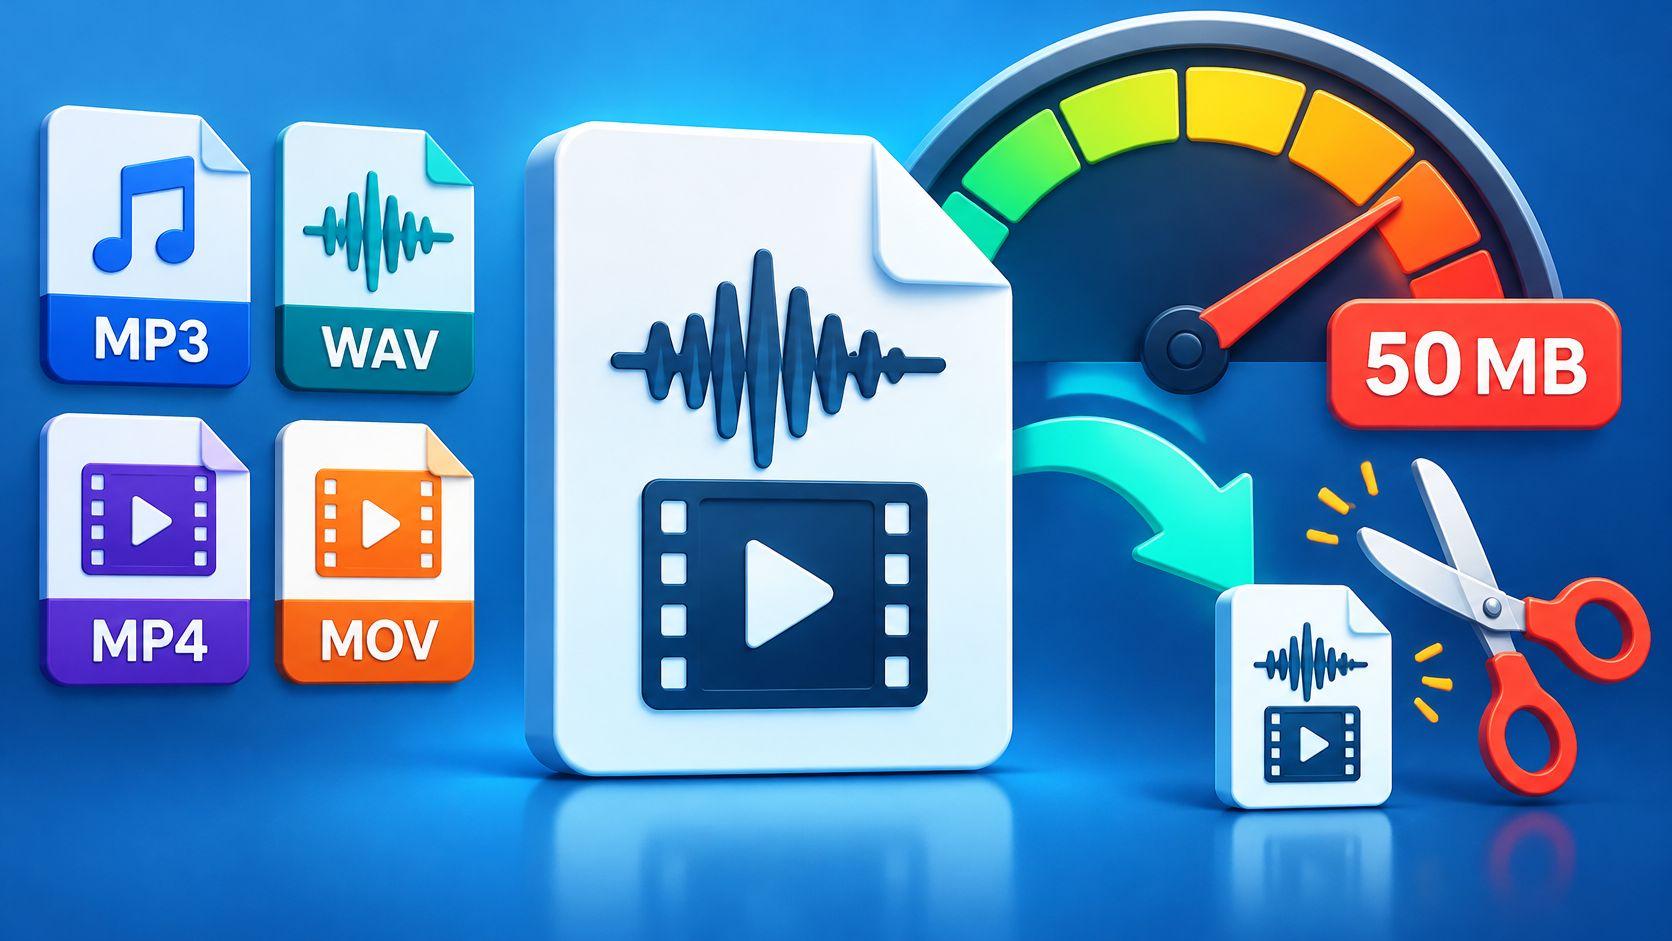
Saturalabs accepts MP3, WAV, MP4 and MOV files up to 50 MiB, which is 52.43 MB, so the workable ceiling in decimal terms is 50 MB. A file that sits above that number won't process until it's trimmed or re-exported.
The export finished at 1:40 in the morning. Eight minutes of a two-person interview, one lav mic track that needs cleaning up, and a file sitting at 61 MB. The upload spinner crawls halfway and stops. Nothing about the recording is wrong. The file is bigger than the ceiling, and the fix is four minutes of trimming rather than a re-record.
A file size limit measures the bytes that leave the machine, not the length of the recording, not the quality of the take, and not how badly the dialogue needs rescuing. Once that's clear, the job becomes mechanical: measure the file, decide what to cut, test the cut on the hardest passage, then upload. This guide covers the ceiling itself, the arithmetic behind it, the trim and export steps that keep the target sound intact, and the listening checks that catch a bad export before it costs credits.
Upload Limits and Accepted Formats at a Glance
Four formats get through, and they all share one number. MP3, WAV, MP4 and MOV up to 50 MB per file is the whole supported list, so a recorder that saves M4A, an editor that exports AVI, or a phone that writes AMR needs a conversion pass before upload. The upload field checks the container as well as the size.
| Format | Media type | Upload limit | What you get back |
|---|---|---|---|
| MP3 | Audio | 50 MB | Separated audio tracks, downloaded as WAV |
| WAV | Audio | 50 MB | Separated audio tracks, downloaded as WAV |
| MP4 | Video with audio | 50 MB | Separated audio tracks, not a finished video |
| MOV | Video with audio | 50 MB | Separated audio tracks, not a finished video |
The video rows surprise people. Uploading an MP4 doesn't return a processed video file with a cleaned-up soundtrack. It returns separated audio tracks as WAV files, so the picture has to be recombined in an editor afterwards, or skipped entirely if only the sound matters.
That makes a difference to what's worth uploading. A 40 MB clip with 30 seconds of usable dialogue inside it wastes bandwidth on frames nobody will see. Export the audio to WAV, check its size, and upload that instead when picture isn't part of the final deliverable.
The ceiling counts bytes, and duration is only one input into a byte count. A 55-minute phone interview compressed to a small MP3 passes comfortably, while a three-minute 24-bit stereo WAV fails without warning. Duration feels like the variable that matters and almost never is.
First check: is the file already under 50 MB in a supported format? If yes, the upload problem sits somewhere other than size, and the troubleshooting steps later in this guide apply.
A file manager's rounded megabyte label hides the truth. A file showing "50.0 MB" in a folder view could be 51.2 MB in exact bytes, or it could be 49.8 MB. Compare the exact byte count against the cap before spending time on a re-export that turns out to be unnecessary.
How Format and Settings Change File Size
Bitrate times duration, plus container overhead, gives the answer before any upload happens. The figures here use the decimal convention used in this guide, which differs from some file managers' binary display.
| Media and setting | Bitrate | Minutes under 50 MB |
|---|---|---|
| MP3 | 128 kbps | about 52 minutes |
| MP3 | 320 kbps | about 21 minutes |
| MP4 or MOV, 1080p H.264 | about 15 Mbps | about 27 seconds |
| MP4 or MOV, 1080p HEVC | about 7 Mbps | about 57 seconds |
Read the MP3 rows as the friendly case. At 128 kbps, one minute of audio costs about 0.96 MB, which leaves room for a 52-minute interview or a full podcast episode. Push the same material to 320 kbps and the ceiling arrives near 21 minutes.
WAV is the expensive case. Stereo, 44.1 kHz, 16-bit audio runs at 1,411 kbps, roughly 10.6 MB per minute, so 50 MB holds about 4.7 minutes of sound. That covers a chorus, a single scene, or a dozen takes of one line, and nothing longer. Audio and video formats differ in more than container, and sample rate and bit depth change the arithmetic as soon as a WAV export moves from 16-bit to 24-bit or from 44.1 kHz to 48 kHz.
Treat the listed video bitrate as the stream to budget. At about 15 Mbps, 1080p H.264 burns roughly 112.5 MB per minute, so the cap covers about 27 seconds. HEVC at about 7 Mbps roughly doubles that to about 57 seconds, and any audio track adds its own weight on top.
Why channel count and sample rate change the answer
Mono halves the data rate of a stereo WAV, so the same performance recorded with one microphone instead of two fits twice as much material under the cap. Moving from 44.1 kHz to 48 kHz adds about 9 percent. Moving from 16-bit to 24-bit adds 50 percent. A 24-bit stereo 48 kHz master, the default in many recording setups, runs about 17.3 MB per minute and holds under three minutes.
A new extension does not create a new file. A .wav renamed to .mp3 is still a WAV of the same size, and a .mov renamed to .mp4 encodes identically; only a re-encode alters the bytes. If a recording sits near the line, export a short representative passage at the candidate settings first, then scale that byte count by the full duration before committing to a complete bounce.
Leave a margin below the ceiling rather than filling it. Metadata, chapter markers, and embedded artwork all add weight, and a file exported to exactly 50 MB may arrive larger than the one that tested clean.
How to Check a File Before You Upload
Start with the passage that matters, not the whole file. Choose the section containing the target sound: the dense dialogue line, the vocal entrance, the cymbal hit, the room tone under speech. If that passage is missing or clipped, a clean upload still fails the job.
- Read the exact byte size. Open Properties on Windows or Get Info on macOS and note the byte count, not the rounded folder figure.
- Compare it with the 50 MB ceiling. If the file sits at or above the cap, plan a shorter selection or different export instead of forcing the upload.
- Confirm the extension matches the file format. MP3, WAV, MP4 and MOV only. A wrong extension needs conversion, not relabeling.
- Decide whether the picture is needed. A video upload produces separated audio tracks rather than a finished video, so a soundtrack-only job can usually go in as audio.
- Note duration, sample rate, channels and bitrate. Match the closest row in the size table and confirm the target passage sits inside the part being uploaded.
- Treat borderline files as risky. If the size is close to the ceiling, leave room for metadata and export variation rather than betting on a retry.
The pass condition stays simple: exact size under 50 MB, container in the supported list, and the difficult passage included. For a second opinion, multiply bitrate by duration from the size table, or enter the same values in an audio file size calculator before export.
How to Shrink an Oversized File Without Losing the Target Sound
Compression advice usually stops at "make it smaller," which is the wrong instruction for anyone isolating a specific sound. Aggressive transcoding strips exactly the material separation depends on: low-level ambience, consonants, cymbals and room tone. A voice separated from a heavily crushed MP3 loses the breath and sibilance that made it sound human.
Published guidance for editors puts roughly 15 Mbps on 1080p H.264 and 7 Mbps on 1080p HEVC, noting that HEVC produces smaller files but encodes more slowly and plays back on fewer devices (codec and bitrate reference). Those numbers describe a sensible middle, not a target to beat.
Here's a conservative workflow that gets a file under the ceiling while keeping the sound recognizable.
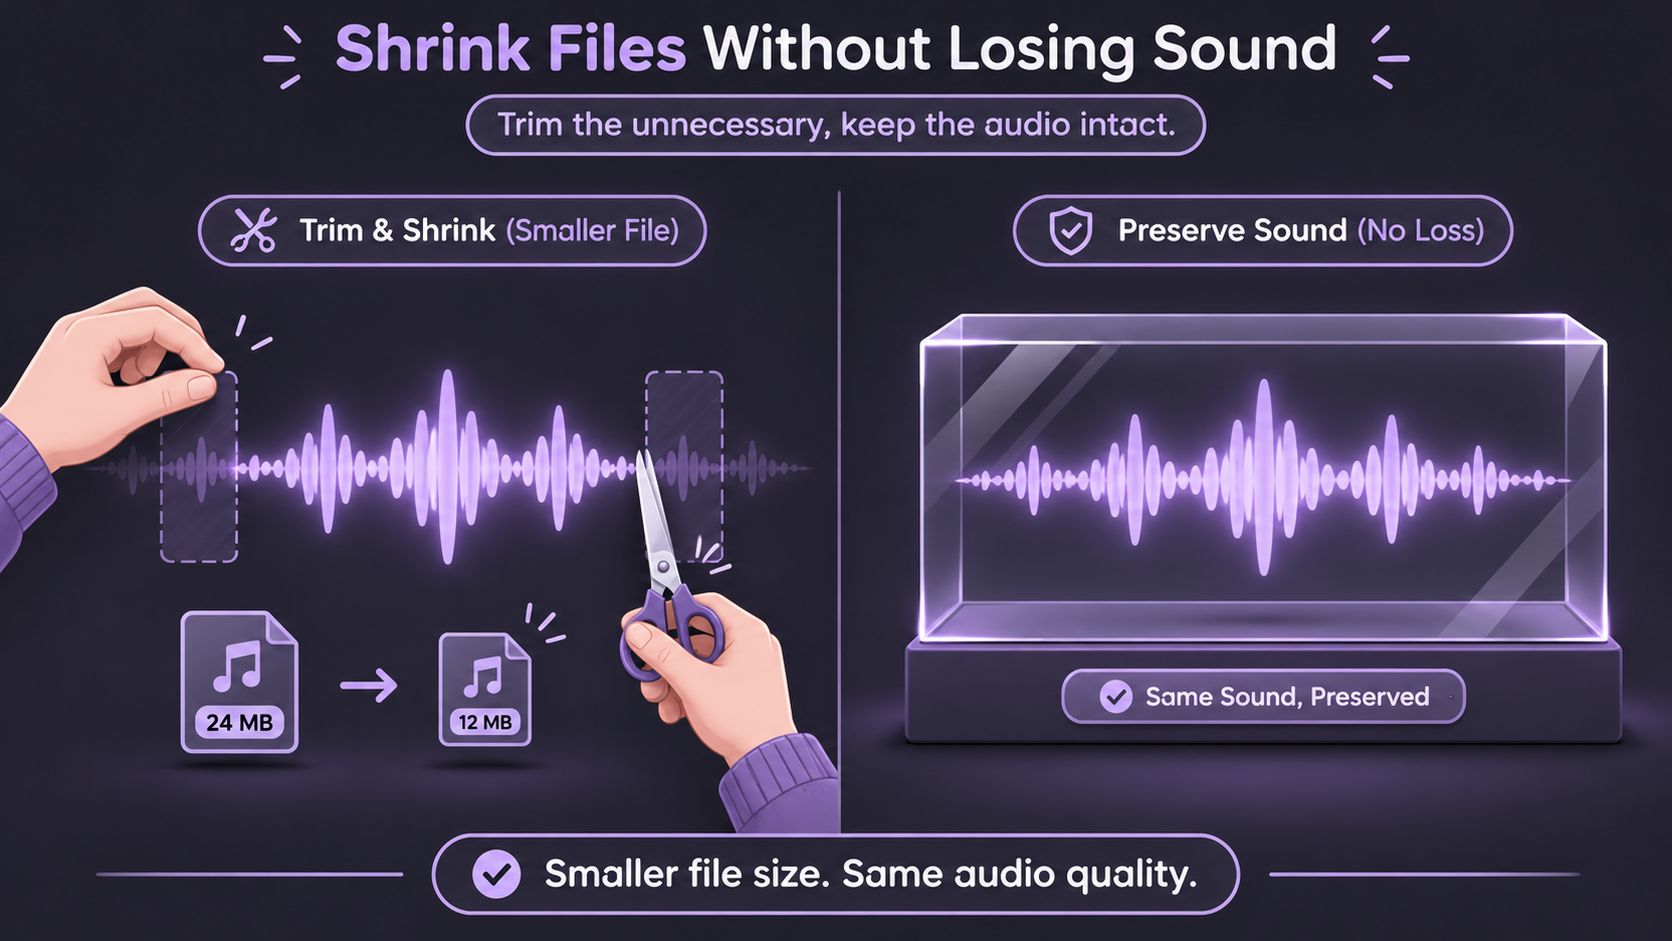
- Duplicate the original and leave it untouched. Every export decision stays reversible while the master sits in a separate folder.
- Trim before encoding. Cut away everything that isn't the passage being isolated. A four-minute interview with 40 usable seconds shrinks to 40 seconds without touching a single encoding setting.
- Choose a conservative setting. For audio, a high-bitrate MP3 or a trimmed WAV. For video, step the bitrate down rather than jumping to a phone preset.
- Export a 30 to 60 second test containing the hardest material. The hardest material means overlapping sources, quiet consonants, sustained notes, or a dense cymbal wash.
- Compare the test with the original. Listen for speech intelligibility, sustained notes that have thinned, and transient attacks that have softened.
- Isolate one named source on the test. Then listen to Background audio for leakage, which is the unwanted source still audible in the remainder.
- Process the full file only after the test passes. The test is cheap; a full-file run that produces unusable output is not.
Container is not codec. MP4 and MOV are boxes. What goes inside them, H.264 or HEVC, 128 kbps or 320 kbps, is what decides size and quality.
The local MP3 converter in Saturalabs handles the basic case for mono or stereo files up to five minutes, and it's worth knowing that this conversion is lossy and doesn't start an AI job or use credits. Making an audio file smaller covers the encoding side in more depth, and the audio isolation prompts guide explains how to name a single audible source so the test measures what the full run will do.
Why an Upload Fails and How to Fix It
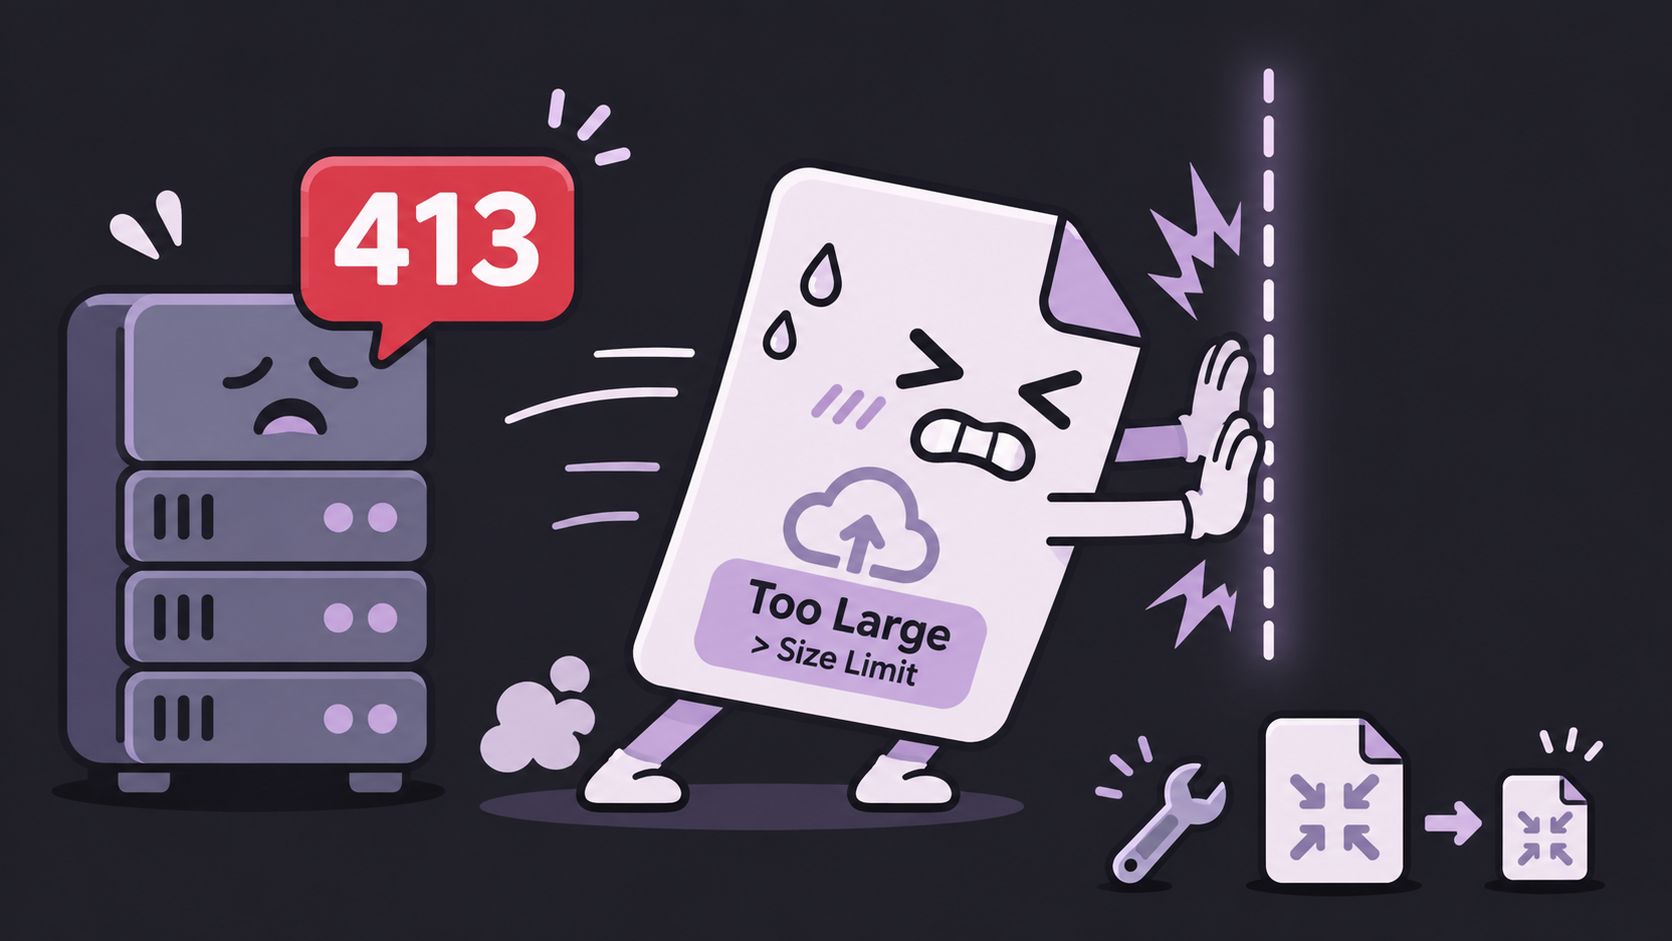
HTTP status code 413, "Payload Too Large," now standardized as "Content Too Large," means the request exceeded a server-defined limit. The file can be perfectly valid and still get rejected before any processing starts, because validity and admissible request size are separate conditions (MDN's reference on 413 Content Too Large). MDN's own example shows a server returning 413 with a stated maximum of 4 MB, which is how these refusals usually surface: a number, a rejection, no explanation of the content.
On Saturalabs the number is 50 MB for the whole file. Not the duration, not the decoded audio, the uploaded request.
Even so, size is only one input into reliability. Cloud-storage comparisons document that browser uploads often carry lower practical ceilings than desktop applications, with older-browser restrictions as low as 300 MB for OneDrive (cloud-storage file-size comparison). Platforms also change behavior instead of failing outright: Gmail allows personal-account attachments totaling up to 25 MB and converts anything larger into a Google Drive link rather than sending it embedded (Gmail attachment help). A ceiling describes one transport path, and a different path may behave nothing like it.
| Symptom | Likely cause | Fix |
|---|---|---|
| Rejected while the label says under 50 MB | Rounded size, or file over 50 MB in bytes | Read exact bytes and trim or re-export under 50 MB |
| Upload stalls or restarts | Unstable connection or mobile network | Retry on a stable connection with a shorter sample |
| Processing takes unusually long | Long, highly compressed, or high-channel file | Trim to the needed passage and test that section first |
| Upload fails in one browser | Outdated browser or conflicting extension | Use a current browser, disable extensions, and retry |
| Video returns audio only | Video uploads produce separated audio tracks | Expect audio output; export audio if you do not need picture |
A smaller file isn't automatically a faster one. A 20-minute podcast at 64 kbps is smaller than a two-minute 24-bit WAV, yet it can take longer to decode and may separate worse, because the codec threw away detail to earn that size. Size and processing cost travel in the same direction only when the format and settings are comparable.
When the cause is unclear, retry with a short re-encoded sample. A 45-second excerpt isolates the variables: if the sample uploads and processes, the problem was size; if it fails the same way, the problem is the format, the browser, or the connection.
The cheapest diagnostic is a short, clean export of the exact passage that failed. It costs a few seconds of encoding and answers the question in one attempt.
Processing times are never guaranteed, so an unusually slow run isn't proof of failure. Compare the output against the original on a difficult passage, starting with Isolated sound versus Background audio, before deciding whether to re-upload the longer source.
Confirm Rights Before You Upload or Download
Pulling a vocal out of a track doesn't create permission to use that vocal. The U.S. Copyright Office is direct about this: clearance comes from public-domain status, permission from the rights holder, or a statutory limitation or exception, and there is no fixed number of notes, seconds or percentage of a work that can be used automatically (Copyright Office guidance for musicians).
Uploading or downloading a protected recording without authorization can infringe the owner's reproduction or distribution rights, even when the only goal is technical processing (Copyright Office fair use FAQ). The tool does one job. It doesn't change who owns the recording.
A short checklist handles most situations before any file leaves the drive.
- Identify the owner. Work out who holds the rights to the specific recording, not just the composition.
- Confirm the basis. Own it, hold written permission, or fall within an exception that applies to the intended use.
- Name the use precisely. Permission requests should state the exact material, the intended use, the audience, and the distribution method.
- Read the terms. Saturalabs permits commercial use of output only within the limits set out in its terms of service, and prohibits using the service for illegal activity or to infringe others' rights.
- Keep the record. Store the permission alongside the project files, dated, before publishing anything.
A file that processes cleanly can still be one you have no right to publish. Rights review is a separate step from sound isolation, not part of it.
None of this is legal advice. It's a reminder that the technical step and the legal step run on different tracks.
Listening Checks Before You Download
Separation is not equally reliable across recordings, because sources overlap in both time and frequency. A peer-reviewed study published in Scientific Reports describes separation as recovering individual sources from a mixed signal and reports that complex material with substantial spectral overlap can challenge a fixed strategy, with cross-contamination appearing in some test samples (study on source separation in Scientific Reports). Dense mixes are the hard case, and a clean result on a sparse track guarantees nothing about the next one.
The checks below catch the failures worth catching before credits convert into a download.
- Isolate one described source per pass. Each pass targets a single source, and the tool doesn't split every instrument at once. Name what's audible, then check that one thing.
- Pick the right output for the goal. Isolated sound keeps the named target. Background audio is the remaining recording with the target removed. For karaoke, isolate vocals and audition Background audio, which the vocal removal guide for karaoke covers in detail.
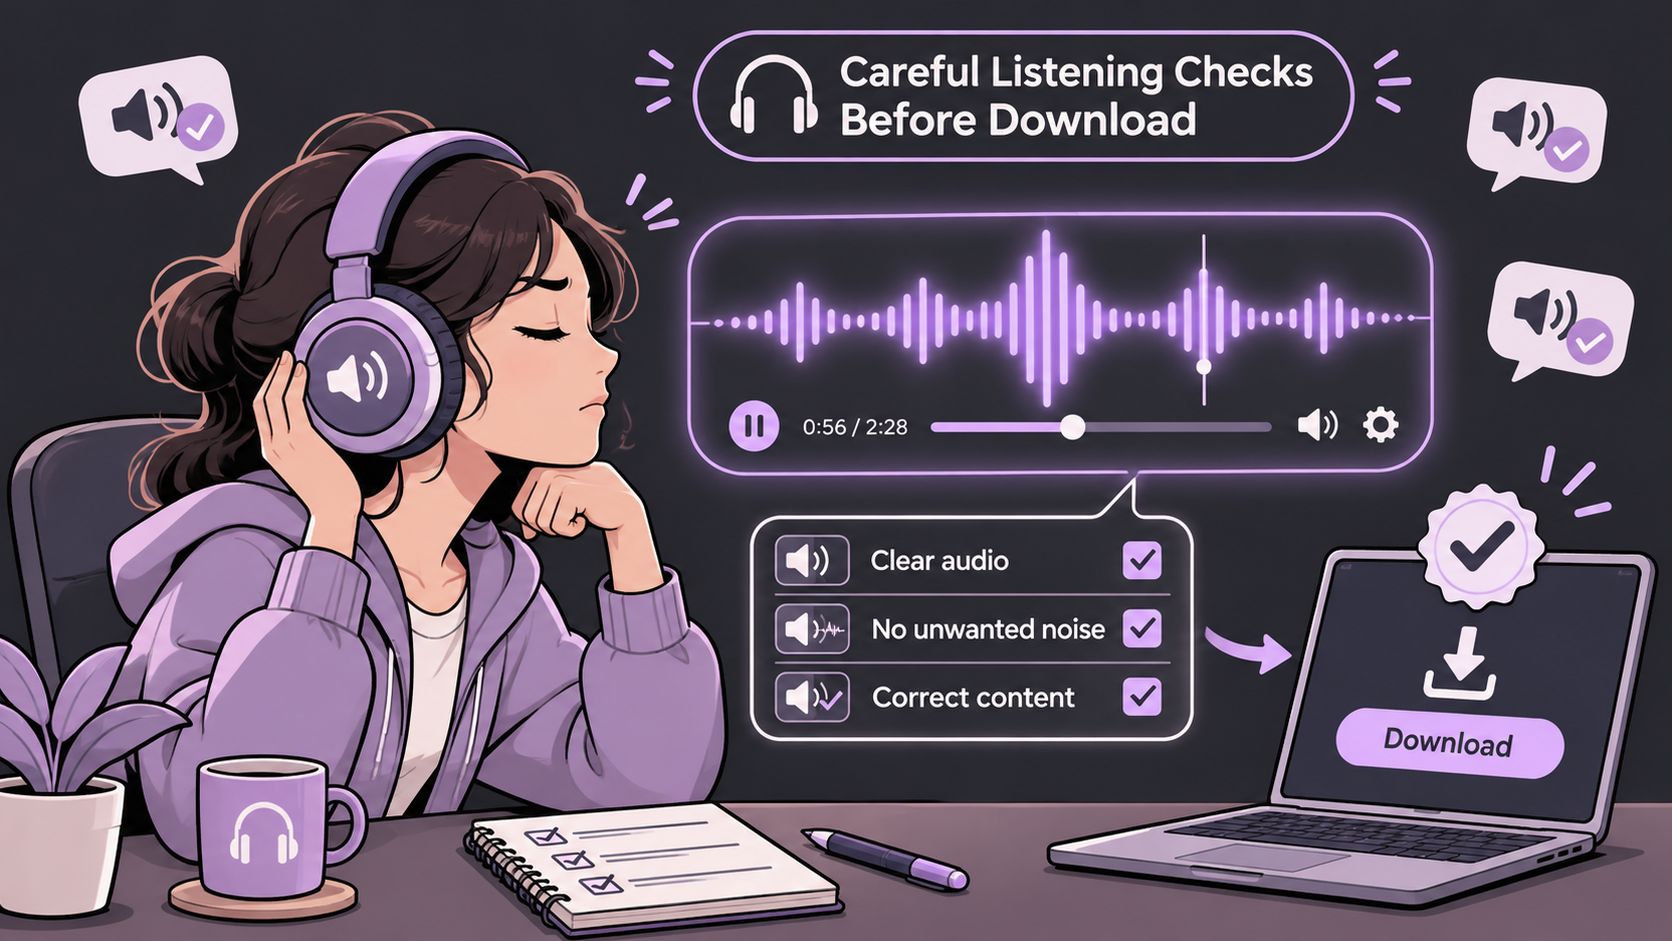
- Compare difficult passages with the original. Listen for missing consonants at the start of words, sustained notes that have gone thin, and attacks on drums or plucked strings that have softened.
- Listen for leakage. The unwanted source should be gone from Isolated sound. If a hi-hat or a piano chord is still audible under the voice, that pass hasn't gone far enough.
- Listen for artifacts. Metallic ringing, warbling on held notes, and a watery texture around reverb tails are the usual signs of an overworked separation.
- Check the credit cost shown for the job before downloading, and confirm the account holds enough credits for that file. The displayed number belongs to that job, so read it rather than assuming.
When separated parts won't rebuild the mix
Separated tracks aren't a session file. If the goal is a remix-ready arrangement with every part on its own fader, the comparison of stems and audio isolation explains why isolated parts may not sum back to the original mix. Download only after the hardest passage passes these checks.
Test One Passage in Saturalabs
Pick one short, difficult passage that's already under 50 MB and saved as MP3, WAV, MP4 or MOV. Upload it at Saturalabs, then describe one audible source in plain language.
For dialogue, ask for spoken voice and audition Isolated sound, which keeps the target. For a karaoke backing track, ask for vocals and audition Background audio, which is the recording with that target removed. The output choice does as much work as the prompt.
Compare the result with the original at the hardest moments: consonants, sustained notes, and any leakage from the unwanted source. Processing runs at roughly 10 credits per minute of file duration for most tools, and downloads require an account with sufficient credits, so the displayed cost for that job is worth reading before committing.
If the test passes, repeat the same prompt and the same output choice on the full prepared file. If consonants vanish or the unwanted source remains, return to the trim and export steps and try a shorter or cleaner passage. Separation depends on the source recording, so a clean test is a check rather than a promise about the full run.
Start with the cheapest fix first: a short, clean export of the passage you need. Saturalabs takes MP3, WAV, MP4 and MOV files up to 50 MB, separates one described sound at a time, and returns Isolated sound and Background audio as downloadable WAV tracks for comparison against your original. Head to Saturalabs, upload a trimmed test passage, and confirm the result before processing the full file.