

In this guide
You can sing along confidently in the car, then lose the pitch, breath, and timing as soon as the track drops out. That gap doesn't mean you're untalented. It usually means practice has no clear target, no listening check, and no rule for stopping.
Learning how to get good at singing works better as a repeatable routine. Pick one observable problem, practice it briefly at a comfortable volume, listen for a defined result, and stop when strain signals appear. Volume and range come later. Accuracy, ease, and repeatability come first.
A Weekly Practice Plan You Can Keep Up
Sunday's ambitious hour can leave a singer hoarse by Tuesday, then practicing stops altogether. A better routine spreads manageable work across the week. Singing depends on coordination, bringing pitch, breath, vowels, consonants, and timing together. Short sessions give you more chances to repeat a skill without letting fatigue take over.
In a 2025 cross-sectional study of 124 German teachers, participants who sang regularly had lower odds of reporting voice problems, with an odds ratio of 0.442 and p = 0.038. The study was observational, so it cannot show that singing caused the difference. It does support a moderate, regular practice pattern rather than occasional hard sessions.
A Four Week Schedule
Practice on five days each week: three short sessions, one recording session, and one repertoire session. Keep two days free of singing.
| Day | Session | Length | Focus | Listening check |
|---|---|---|---|---|
| Monday | Short session | 15-20 min | Warm-up and one drill | Stop if roughness remains after a quiet rest |
| Tuesday | Rest day | 0 min singing | Speaking, water, and sleep | Note any lingering hoarseness |
| Wednesday | Recording session | 25-30 min | Record a baseline take, then review one drill | Compare the take with last week's |
| Thursday | Short session | 15-20 min | Warm-up and one drill | Check whether the sound stays clear and easy |
| Friday | Rest day | 0 min singing | Speaking, water, and sleep | Notice any lingering hoarseness |
| Saturday | Repertoire session | 30-40 min | Lyrics and musical phrases | Change keys only after the pattern stays stable |
| Sunday | Short session | 15-20 min | Warm-up and one drill | Stop if effort rises as accuracy falls |
Break each session into blocks of about 5-8 minutes, with quiet rest between them. Sing a drill, pause, breathe normally, and decide whether your next attempt still sounds clear. If each repetition grows louder or tighter, or becomes less accurate, end the block rather than pushing through.
The Session Log
After each session, record five details:
- Date and duration: Include rest time.
- Comfortable range: Note the lowest and highest notes that felt easy, not forced extremes.
- Perceived effort: Use a 1-5 scale, where 1 feels easy and 5 feels like pushing.
- Symptoms: Record roughness, pain, throat tightness, or high notes that disappeared during practice.
- One target: Name the skill you worked on, such as pitch on one interval or a steadier vowel.
Practical rule: If effort climbs while accuracy falls, end the session, even if time remains.
Choose one target for the week, such as landing the third note of a five-note pattern, and one rest rule, such as ending a block when roughness appears. Keep that plan for four weeks before changing it. A repeatable routine gives you a clearer basis for judging whether the drill is helping or straining your voice.
How to Warm Up Without Straining Your Voice
Your first notes of the day can tell you how much singing is sensible. Begin gently and listen for ease and clarity, rather than testing your highest notes or singing loudly. A warm-up should prepare the voice and help you assess it, not prove your range.
Guidance from the National Association of Teachers of Singing says even five minutes of gentle scales can help a singer assess and control the voice. The same source identifies dehydration and fatigue as factors that can affect vocal-fold lubrication and efficiency. Five minutes is a starting example, not a guarantee that the voice is ready for more.

A Warm-Up Under 10 Minutes
Keep this routine to about eight minutes. Use a comfortable pitch and low-to-moderate volume. Judge each drill by whether the sound stays clear and easy, not by how high or loud you can sing.
- Check your speaking voice, 1 minute. Sip water and say a few ordinary sentences at your usual volume. Roughness or pain while speaking is a reason to rest or keep singing very light.
- Lip trills or gentle humming, 1 minute. Start on one comfortable pitch, then move a little up and down. The sound should feel easy, without tight lips or throat pressure.
- Easy sirens or slides, 1 minute. Glide on “ng” or “oo” through a small range. Listen for a smooth transition. Stop or narrow the range if the voice catches or tightens.
- Five-note scale in the middle range, 2 minutes. Sing “mee” or “mah” on five notes up and down, moving by half steps if the tone stays clear. Listen for accurate notes without scooping.
- Short song phrases, 2 minutes. Sing one or two lines at moderate volume. Keep the phrase short enough to finish comfortably, without forcing extra volume or breath.
- Recheck, 1 minute. Hum the starting pitch again and compare. If it feels and sounds easier, you can begin practice. If the tone wobbles, roughens, or feels tight, stop or keep the session light.
When the Warm-Up Itself Becomes the Problem
More warm-up time does not always mean more readiness. One National Association of Teachers of Singing source describes extensive warm-ups can contribute to vocal fatigue, with 10-15 minutes flagged as potentially fatiguing for some singers. This is a possible fatigue range for some singers, not a universal limit. The shorter routine above stays under ten minutes; stop sooner if your voice shows signs of strain.
Warm-up needs change with health, earlier voice use, and the demands of the songs you plan to sing. After a day of speaking loudly, even gentle exercises may add load. Listen for a clearer, easier tone as you go. If your voice gets rougher or tighter, reduce the time and effort, or stop rather than pushing through.
Drills That Build Pitch, Vowels and Breath
A singer who reaches the third note of a scale and repeatedly slips flat has a clearer practice target than “sing better.” Singing coordinates pitch, airflow, vowels, and articulation. Work on one observable skill at a time, and judge each drill by how it sounds and feels, not by volume, range, or an app score.
| Drill | Target | Listening check | Stop signal |
|---|---|---|---|
| Five-note matching | Pitch accuracy | Each note settles before the next begins | Pitch drifts after three repeats |
| Sustained vowel | Steady tone | The vowel holds one pitch without wobble or audible breath leak | Sound turns breathy or pressed |
| Lip trill to siren | Airflow and smooth register bridge | The glide has no catches | Buzzing becomes strained |
| Staccato breath pulses | Breath coordination | Each onset sounds clean, without a throat grab | Throat tightens |
| Consonant-vowel slides | Diction | Consonants stay clear while the jaw remains relaxed | Jaw clenches |
| Slow song phrase | Transfer to repertoire | The phrase ends in tune with breath remaining | Fatigue appears after two passes |
The Session Sequence
Use these steps with one drill. Keep the practice focused, and stop if the sound or physical effort worsens.
- Record a baseline attempt before practicing. It gives you a reference for the same exercise.
- Choose a comfortable range and moderate volume. The drill should feel manageable, not forced.
- Listen for one criterion, such as whether a pitch settles or a vowel stays steady.
- Change one variable at a time, such as tempo, starting pitch, or vowel, then try again.
- Test the skill in a song phrase to see whether it carries over beyond the exercise.
Slowing a phrase can make its notes and breaths easier to place. Use an audio speed changer to practice at a reduced tempo, then return to full speed when the pattern sounds stable. Change tempo on its own. Raising the key at the same time makes it harder to tell which adjustment helped.
Keep instructions short and direct, a common approach in voice teaching. A cue such as “land the third note” gives you one clear listening target. Correct the wrong pitch before working on tone color, and avoid stacking several body adjustments into one attempt.
Three Pitfalls That Stall Progress
- Too many cues at once: Monitoring jaw, breath, posture, and pitch together can make the drill harder to coordinate. Choose one listening check.
- Copying without a goal: A demonstration is useful when you know what result to listen for. Otherwise, imitation gives you no clear way to judge whether the exercise is helping.
- Treating every note as equal: Give the session to the recurring error. Small, inconsistent imperfections can wait.
For example, if the third note of a five-note pattern repeatedly falls flat, practice only the movement from the first note to the third. Sing it slowly, listen for where the third note settles, then rest before repeating. Once it sounds steady, try the same interval in the chorus line where the problem first appeared. If the pitch holds in the drill but slips in the song, adjust the drill's tempo or range and test again.
Let each drill's stop signal decide when to end it. Three clean passes are more useful than continuing after the sound deteriorates. A drill is helping when the target becomes easier to hear and the voice stays comfortable. If the tone grows rough, the throat tightens, or effort rises, stop rather than pushing for another repetition.
Recording and Judging Your Own Progress
Recording helps only when it changes a practice decision. Use a three-pass loop on one drill so the recording answers a specific question instead of becoming general self-criticism.
Pass one, sing without looking. Run the drill with no pitch display visible and note how it feels. Mark whether breath ran short, the jaw tightened, or a note felt uncertain, before you hear any playback.
Pass two, check one measurable issue. Listen or glance at a display for a single question. Did the pitch center sit flat on the long note? Did the phrase start late? One question, one answer.
Pass three, listen musically. Repeat the drill and judge phrase shape, breath placement, and comfort. This pass decides whether the correction actually improved the singing or only improved a number.
A Repeatable Recording Setup
Consistency makes weekly comparison meaningful. Keep these elements fixed:
- Same phone position and distance each week, so loudness differences reflect your voice, not the setup.
- Same phrase for the comparison take, even while other repertoire changes.
- Date in the file name, so progress is findable without guesswork.
- Dry take with no reverb or effects, because processing hides breath noise and pitch drift.
Compare weekly takes on four points: pitch stability, breath noise, consonant clarity, and strain on high notes. If you want a reference for what you're matching, this guide to melody with clear musical examples helps separate the tune itself from harmony and accompaniment when you check whether your line is the actual melody.
What Visual Feedback Can't Tell You
A 2025 systematic review of spectrum-based vocal pedagogy examined 28 studies and reported promising effects on engagement and understanding, while emphasizing the need for more research on long-term training outcomes. So a pitch display is a reasonable occasional reference, not a judge.
A pitch meter can't assess tone quality, vibrato, phrasing, or comfort, and a recording captures how you sounded, not how the singing felt.
Use the display in pass two only, then make the call with your ears in pass three. At the end of each month, ask a teacher or trusted peer to hear one take alongside the previous month's version. Outside ears catch habits you've stopped noticing.
Practicing With Stems and Acapellas in Saturalabs
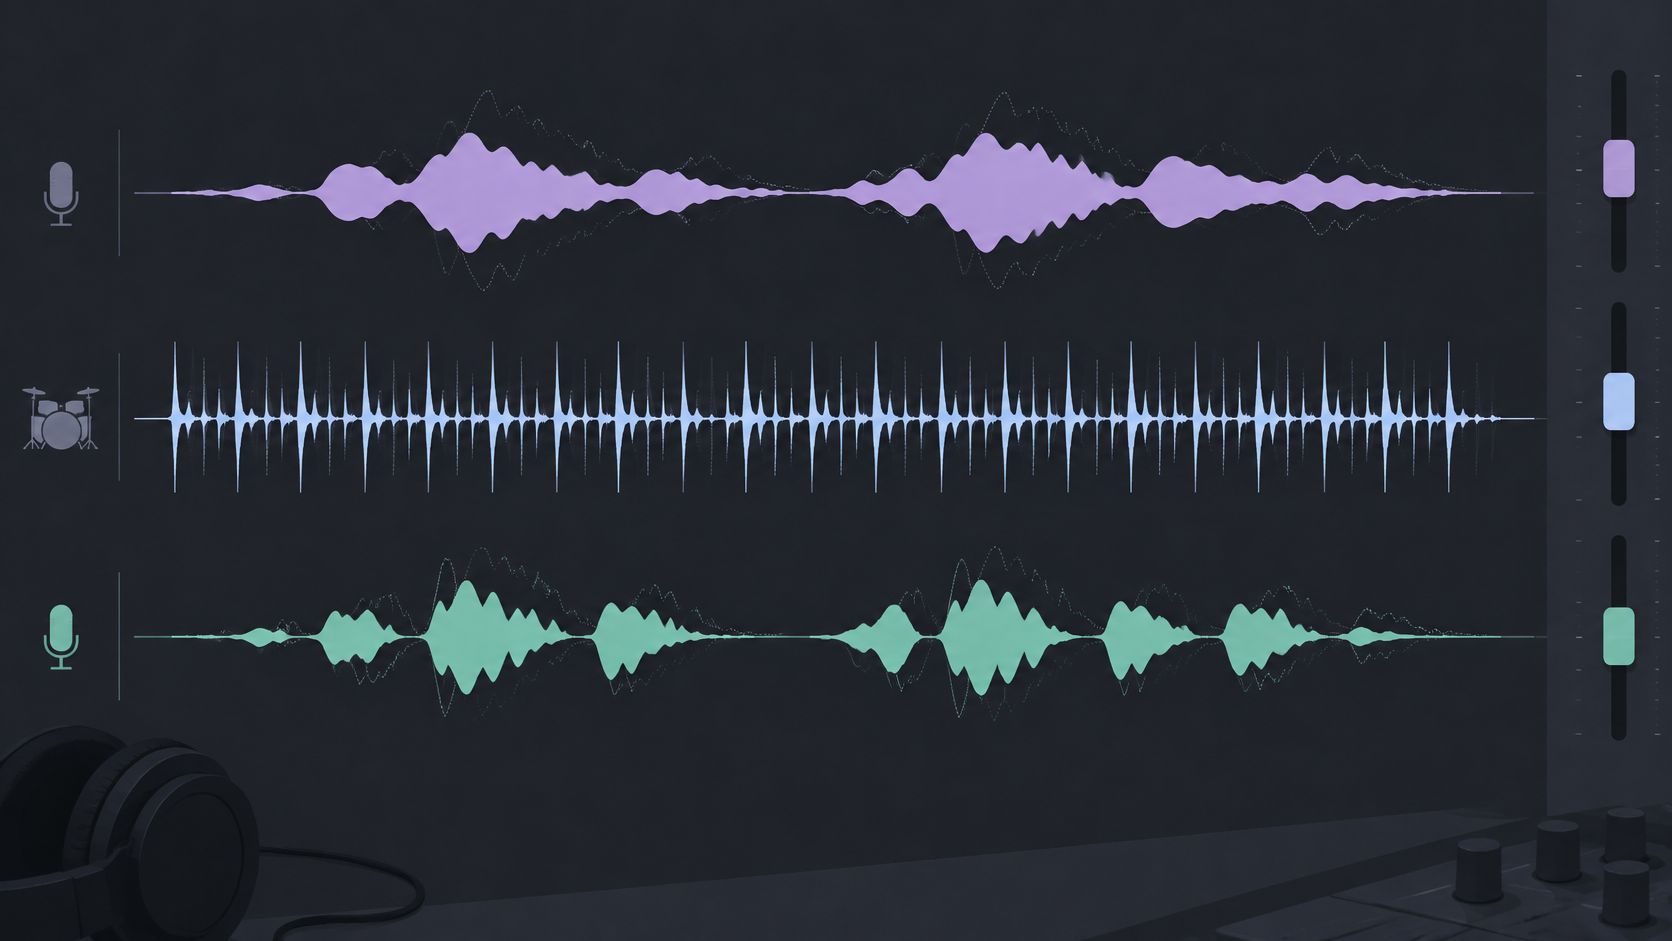
Separated audio serves three distinct practice goals. You might copy a lead vocal's phrasing at slow speed, sing over a backing track at full tempo, or check your own dry take against the original performance. Each goal needs a different output, so decide the goal before processing anything.
Saturalabs accepts MP3, WAV, MP4, and MOV files up to 50 MB and uses text-guided isolation. You name one audible source, then choose between hearing that source alone or hearing everything else without it.
The Workflow
- Upload the file. Use a song you're learning or a clean recording of a teacher's demonstration that you have the rights to use.
- Write one source per prompt. Try "lead singing voice" for phrase study or "vocals" when building a track to sing over.
- Choose the output. Select Isolated sound to hear the lead vocal alone for copying phrasing, or Background audio to get the remaining recording as your backing track.
- Compare the difficult passage with the original. Listen for lost consonants, watery or warbling artifacts, and instrument bleed into the vocal.
- Check the credit cost shown before downloading. Confirm the result is usable first, then download.
For wording choices, the guide to making backing tracks covers track-building specifics, while the stems versus audio isolation comparison, the audio isolation prompt guide, and the karaoke vocal removal guide help you pick the right approach for each goal.
Limits Worth Knowing
A separated vocal works well for studying phrasing, breaths, and timing. It isn't reliable for precise pitch diagnosis, because artifacts and bleed can distort exactly the details you'd measure. Separation quality also depends on the source recording. A dense, reverberant mix separates less cleanly than a dry, sparse one, so judge every result against the original before practicing with it.
Decide When to Stop Singing or Book a Teacher
The question that matters most is simple: is this exercise helping or straining the voice? Four listening checks answer it. Tone stays clear, pitch stays stable, roughness doesn't increase across repetitions, and discomfort doesn't linger after the session ends. Passing all four means the load was probably appropriate.
| Symptom | What It May Point To | Action |
|---|---|---|
| Hoarseness that clears by the next day | Overuse or dehydration | Reduce volume and session length, and log it |
| Hoarseness lasting several days | Ongoing overload or illness | Rest from singing and book a voice-health clinician |
| Pain when singing or speaking | Strain or a possible structural issue | Stop singing and get assessed |
| Loss of high notes after a session | Fatigue or tension in technique | Skip high phrases and shorten the session |
| Repeated break at the same pitch | Unresolved transition between registers | Bring the passage to a qualified voice teacher |
Regular singing was associated with lower odds of voice problems in the teacher study covered earlier, but that doesn't guarantee protection for any individual. Evidence summarized in a review of singers' vocal-health knowledge, which found substantial gaps among 33 professional and 33 amateur singers, also notes that previous voice training alone wasn't significantly protective. Training history isn't a substitute for paying attention.
Use this decision path. Keep the four-week plan while checks pass, reduce load when fatigue appears, book a qualified voice teacher for repeated technique problems, and see a voice-health clinician for persistent hoarseness or pain. Log two weeks of sessions, review the checks with a candid eye, then decide whether a lesson is the next step.
When a difficult passage in your own recording needs a closer listen, Saturalabs lets you isolate the sung voice from its accompaniment or remove the vocal to practice against the backing, using a plain-language prompt on files you have the rights to use. Compare the result with your original take, check the credit cost shown, and download only when the separated audio passes your listening checks.