
In this guide
You have a song with a strong vocal, but the mix is already printed. Maybe the singer is buried under guitars and drums, or a spoken line is trapped beneath background music in a video. The temptation is to press one button and expect a studio-clean stem. In practice, how to isolate vocals depends less on finding a magic setting and more on making two decisions correctly before processing begins.
First, name the sound you want in the prompt. Then decide which result you need, Isolated sound or Background audio. The first keeps the named source. The second keeps the remaining mix with that source removed. A short preparation pass, a targeted separation run, and a careful listening check will usually produce a more useful result than repeated broad prompts. For a deeper distinction between removing unwanted noise and separating a source, see this guide to audio isolation versus noise reduction.
What Isolating Vocals Actually Means
Vocal isolation isn't the same as turning down the vocal fader in a multitrack session. A finished song is usually a single mixed recording, so the software has to estimate which parts belong to the vocal and which parts belong to the accompaniment. The result can contain leakage, missing harmonics, or processing artifacts, because source separation estimates the target and remainder from the mix rather than recovering the original print masters. Technical literature on audio source separation makes that limitation clear.
The practical decision comes before any processing:
- Name the source accurately. Use “lead vocal,” “backing vocal,” “spoken voice,” or “female lead vocal” when that distinction matters. A vague prompt such as “voice” may include harmonies, ambience, or unrelated speech.
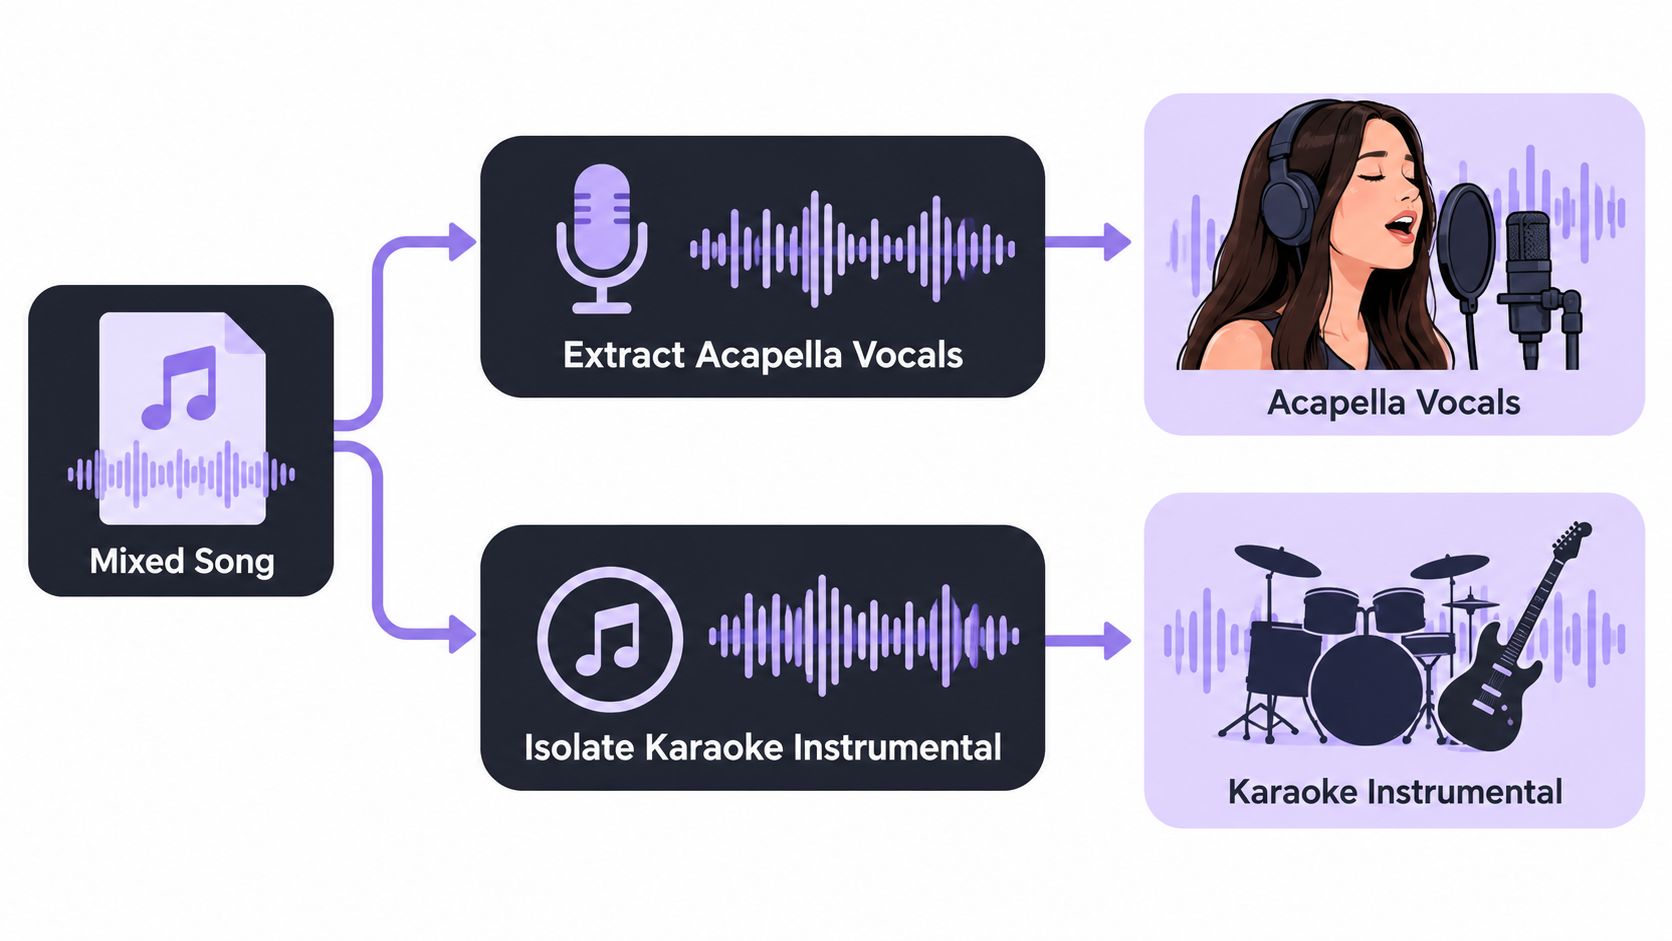
- Choose the output that matches the job. Keep Isolated sound for an acapella or a spoken dialogue stem. Keep Background audio for karaoke, a backing music bed, or a video mix with the singing removed.
Both outputs can be useful. The prompt identifies the layer to separate, while the output choice determines which side of the split becomes the working file. For example, “lead vocals from this pop song” paired with Isolated sound is an acapella workflow. The same target paired with Background audio is a karaoke workflow.
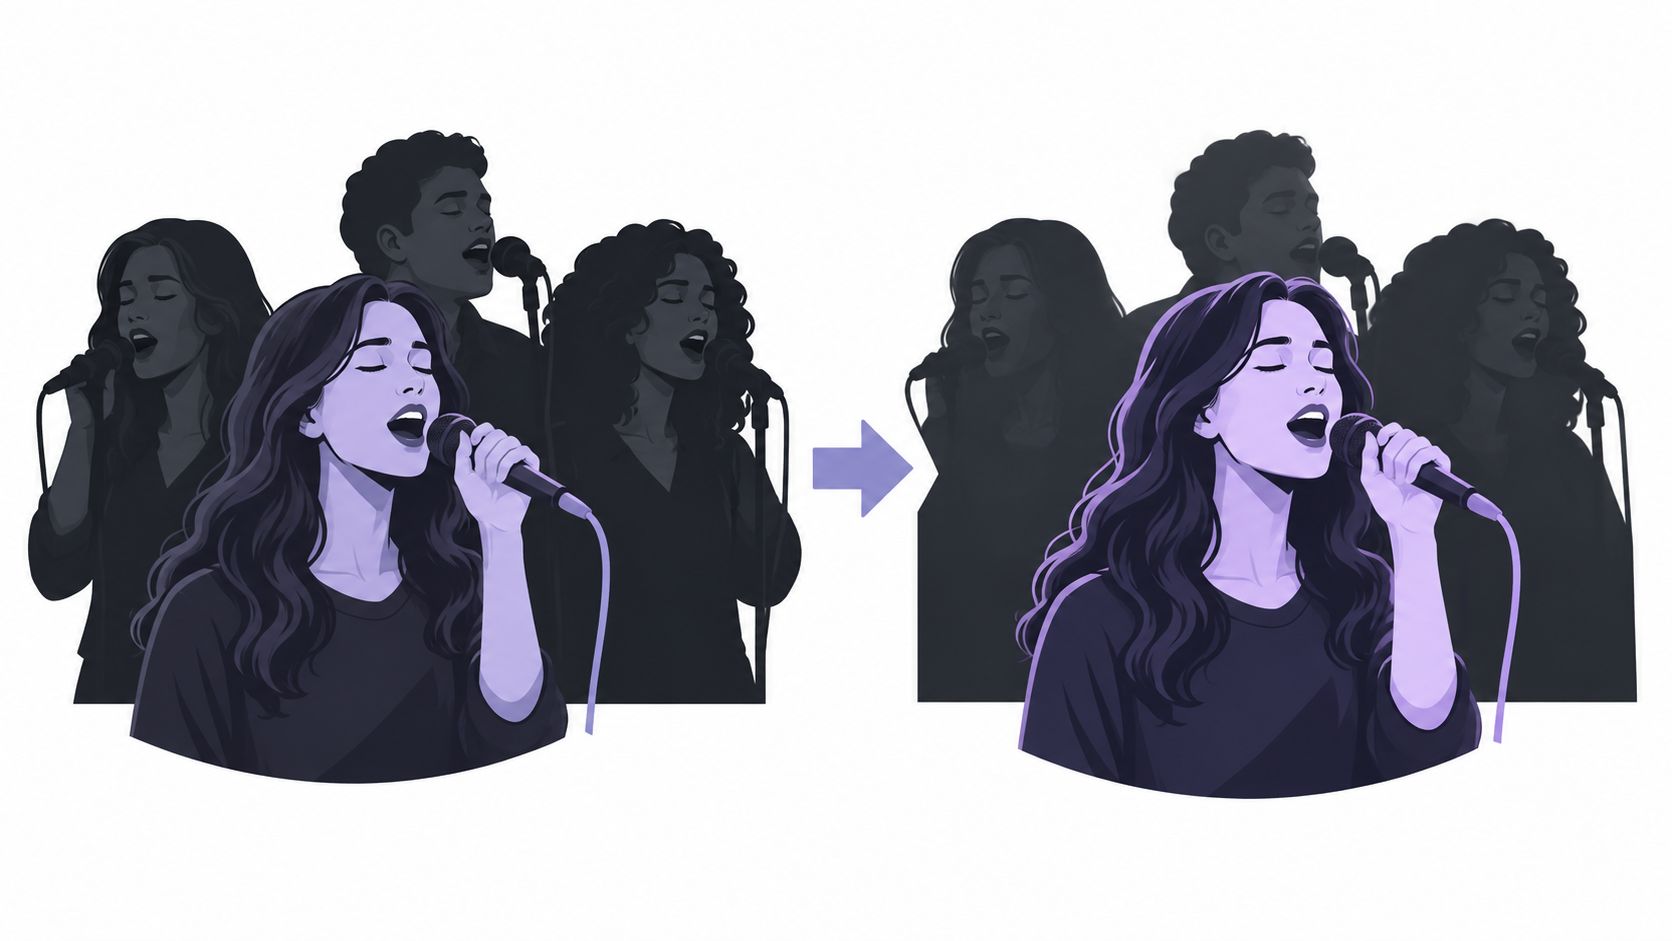
The rest of the process is straightforward, but it isn't automatic quality control. Prepare a clean working copy, run one targeted pass, audition the chosen output against the original, inspect difficult phrases, and only then export. Dense instrumentation, centered ambience, hard-panned doubles, and heavy reverb can all make the separation less clean.
Practical rule: Decide what “success” means before uploading. An acapella and a karaoke bed require opposite output choices, even though they can use the same vocal prompt.
Preparing Your File Before You Upload
The source file sets the ceiling for the result. A vocal recorded cleanly in a relatively open arrangement gives the separator more useful information than a heavily compressed vocal surrounded by guitars, cymbals, bass, and room reflections.
Use a working copy in a supported format such as WAV, MP3, MP4, or MOV, and keep the upload within the service's stated 50 MB limit. For music, a full track preserves the arrangement context, while a trimmed region can make a focused experiment faster. Remove unnecessary silence at the head and tail, but don't cut into breaths, consonants, reverb decays, or room tone.
Before uploading, make a short listening pass. Mark the moments where the vocal is hardest to identify:
- Reverb-heavy lead: Long vocal tails may remain in the background output.
- Dense arrangement: Guitars, synths, and vocals sharing the same range are difficult to separate cleanly.
- Live drum bleed: Microphone spill can follow the vocal into the isolated stem.
- Low-frequency masking: Bass, kick, and vocal fundamentals can overlap.
- Stereo imbalance: A vocal slightly left or right of center may separate differently from a centered vocal.
The source should also be lawful to use. If the recording belongs to another person or rights holder, permission to process it doesn't automatically grant permission to publish, distribute, or commercially use the result. The output can only be used within the rights attached to the input and the intended project.
Check the loudest peak and note whether the vocal sits slightly off-center in the stereo image. Those observations won't guarantee a clean stem, but they'll explain why one chorus may behave differently from a dry verse. Export a clean working copy rather than altering the master, then use this audio preparation guide for AI isolation before starting the run.
Running an Isolation Pass Step by Step
A useful run starts with one audible source and one clear objective. Saturalabs accepts an audio or video file, a text description of the source, and an output choice. The interface labels the retained target Isolated sound and the remaining mix Background audio, which makes the distinction important for both acapella and karaoke work.
The acapella workflow
Suppose the goal is to extract the singer from a mixed pop track.
- Upload the prepared file.
- Describe one source, for example: “Lead vocals from the pop song, including the main singer but not the backing track.”
- Select Isolated sound.
- Start the separation.
- Match the isolated stem's volume to the original and audition the verse, chorus, consonants, breaths, and reverb tails.
The isolated track should preserve the lead vocal as the primary audible element. It may still contain faint cymbals, guitar texture, or reverb, so the word “acapella” doesn't mean the output is guaranteed to be dry or perfect.
The karaoke workflow
For karaoke, use the same source but keep the opposite side of the split:
- Upload the song.
- Prompt it with “Lead and backing vocals from this pop song.”
- Select Background audio.
- Start the separation.
- Compare the result with the original at matched volume.
The background track should keep the non-vocal elements while leaving a hollow or reduced space where the vocals sat. Reverb and vocal doubles may remain, especially in a dense chorus. If the result still sounds vocal-heavy, test a more specific prompt such as “all singing vocals, including harmonies,” then compare the new background output with the first one.
The same source can therefore support two different deliverables. Isolated sound is the acapella choice. Background audio is the karaoke choice. Don't download based on the label alone. Listen to the selected output against the original and check the displayed credit cost before downloading.
Prompt Examples for Common Vocal Goals
Prompt wording should describe one audible source, not the entire desired production. “Remove everything except a finished radio vocal” asks the system to solve several problems at once. “Main spoken voice” or “lead vocal only” gives it a narrower target.
| Goal | Prompt Target | Audition This Output | Listen For |
|---|---|---|---|
| Acapella extraction | “Lead vocals from the song” | Isolated sound | Check whether consonants, breaths, pitch changes, and vocal tails remain intact. |
| Karaoke or instrumental | “Vocals” or “lead and backing vocals” | Background audio | Listen for a clear instrumental bed and reduced vocal reverb in the spaces between phrases. |
| Dialogue or spoken word | “Spoken voice” or “main dialogue” | Isolated sound | Check word intelligibility, plosives, room tone, and whether music remains underneath speech. |
| Single-instrument stem | “Electric guitar” or “bass guitar” | Isolated sound | Check whether cymbals leak into a guitar take or kick and synth sub remain in a bass stem. |
The target phrase can change the output more than changing the output side. “Female lead vocal” may produce a different result from “lead vocal” when a mix contains multiple singers. “Lead vocal, solo” can also be more useful than “voice,” which may invite harmonies or background speech into the isolated track.
The intended result still determines what to keep. If the prompt names “vocals” but the project needs no vocals, Background audio is the relevant track. If the prompt names “spoken voice” for an interview, Isolated sound is normally the useful track.
Audition both outputs whenever the separation seems uncertain. A prompt can identify the intended source while the cleaner-sounding result appears on the opposite side because the mix has unusual phase, stereo effects, or heavy vocal processing. The ear decides which stem is usable, not the name of the button.
Artifacts You Will Hear and How to Fix Them
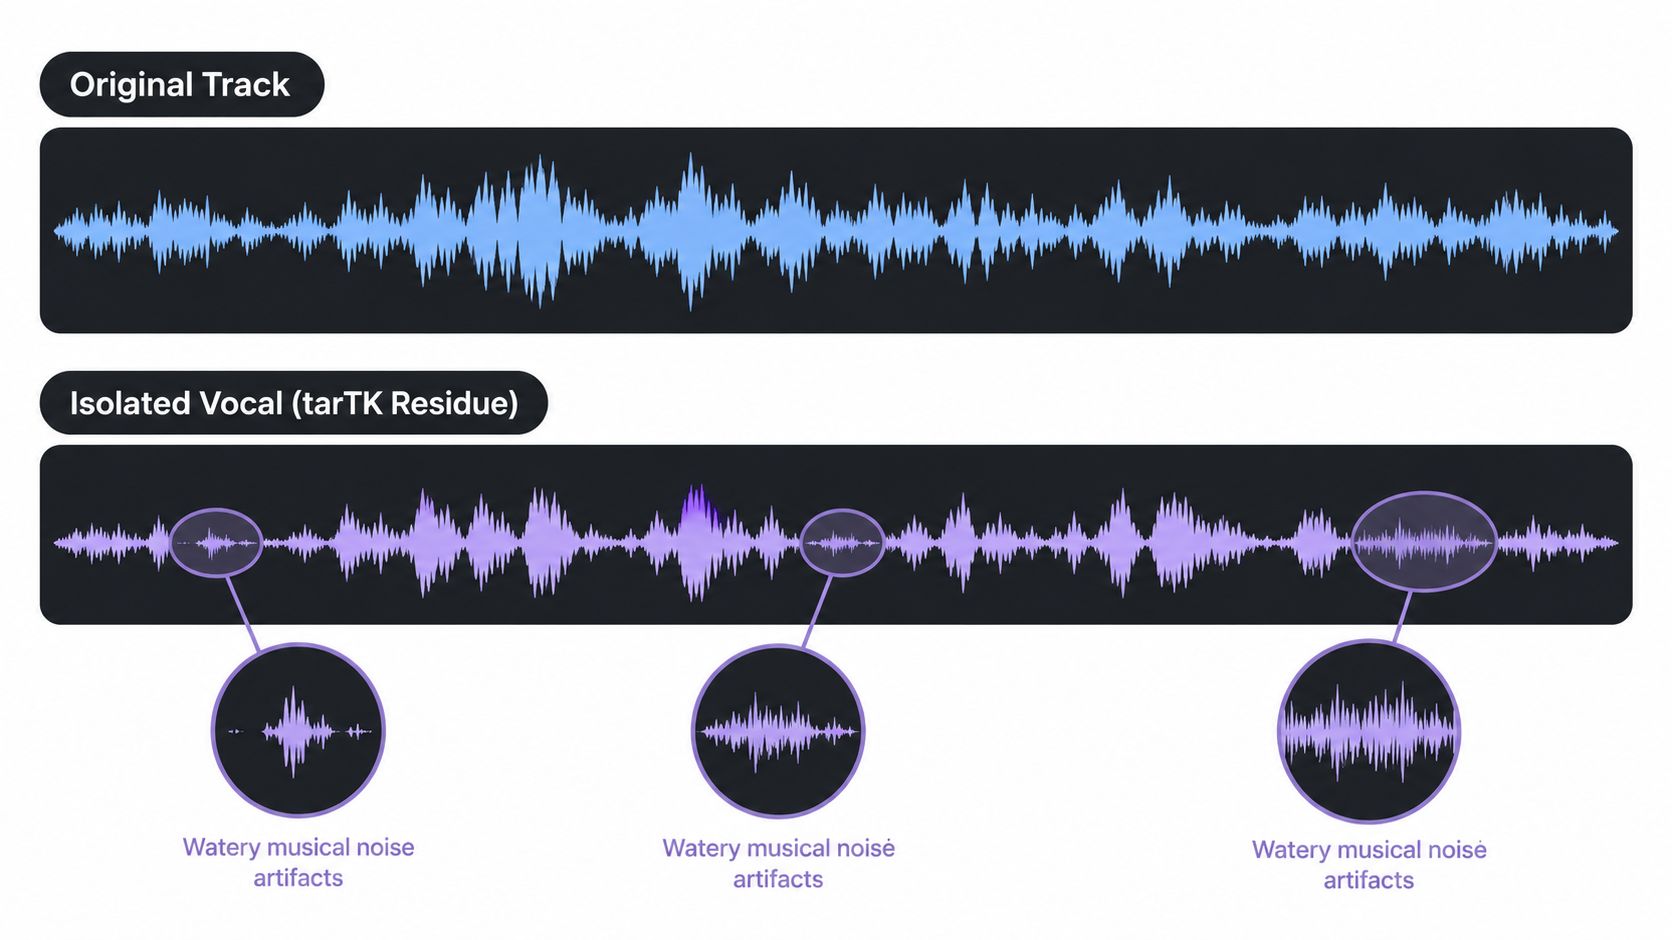
A separation can sound acceptable in solo and still fail in the mix. Compare the Isolated sound and Background audio outputs with the original before deciding which one to keep. Watery consonants, pitch-like bleed, and granular textures may soften under a full arrangement, while missing syllables or obvious reverb can remain distracting.
Musical noise and low-end leakage
Musical noise sounds like a watery, granular residue riding on consonants. It often appears when a vocal overlaps bright guitars or cymbals, or when the separator has to make a rapid decision around short syllables.
Start by naming the source and intended result clearly. For an acapella, use the Isolated sound output with a prompt such as:
- “Lead vocal only, exclude guitars and cymbals”
- “Main vocal track, no backing instruments”
- “Dry lead vocals from the center of the mix”
For karaoke, name the vocal source, then choose Background audio. A practical prompt is “Vocals, remove the lead performance and preserve the backing track.” Listen to the result rather than assuming the selected side is correct. Stereo effects, phase interactions, and heavy processing can leave the cleaner backing track on the opposite output.
If you can adjust the file level before processing, reduce it modestly when loud music is overwhelming the voice. The aim is a clearer source distinction, not a quiet upload.
Low-end leakage usually comes from kick, bass, or synth sub. A broad request such as “voice and bass” can pull that material into the vocal stem. Use “lead vocal only”, then check sustained notes and the quietest vocal passages for rumble or distorted pitch.
Missing consonants and reverb carry-over
Swallowed breaths, softened sibilants, and missing consonants often indicate that part of the lead was treated as a harmony or doubled vocal. Try “lead vocal, solo” or “main vocal track” to identify the principal performance more precisely.
For karaoke, reverb may remain in Background audio after the dry vocal is reduced. Try “dry vocals” or, if supported, “remove reverb from background.” This can clarify the request, though it cannot recreate a clean mix from separated tracks.
If the artifact remains after two prompt changes, audition the other output before changing anything else. The unwanted remainder can sometimes be cleaner than the requested stem. Final approval belongs to a focused listening check against the source.
Honest Limits of Text-Guided Vocal Isolation
Text-guided separation is a guided estimate, not a demix of the original multitrack session. A buried vocal, hard-panned double, or singer sharing the same frequency range as an electric guitar can leave material on both sides of the split. Heavy compression, centered ambience, and stereo widening make the decision harder still.
The research history reflects why this is a technical problem rather than a simple filter. Source separation developed through early blind and computational methods before neural systems became a major breakthrough, and modern vocal tools represent decades of accumulated work rather than one invention. Reviews of the field discuss the progression from methods such as factorized hidden Markov models to deep-learning systems, while also identifying Open-Unmix and REPET as important milestones in modern music and voice separation research. A recent review of vocal isolation methods provides that broader context.
A meter can look acceptable while the result sounds wrong. Phase cancellation, missing harmonics, and musical noise may not be obvious from a waveform, so a focused A/B comparison against the source is more trustworthy than visual confidence. Check the difficult chorus, the quietest line, the most sibilant phrase, and the longest reverb tail.
A clean waveform is not proof of a clean vocal. If the words, pitch, or room character change, the stem needs another decision, not just more processing.
There is also a sensible stopping point. If the isolated track audibly changes the pitch of backing bleed, or the background keeps the lead vocal clearly intelligible after two prompt rewrites, the mix is probably too dense for this task. Finding a multitrack session or re-recording the part will save more time than running endless variations. These limits make the workflow more disciplined because they force a listening check instead of a one-click habit. For broader cleanup after separation, this online audio repair workflow can be considered separately, but repair won't restore information that the mix never exposed.
A Quick Pre-Download Checklist
{
"text": "Before committing an isolated stem to a session, verify it in the same context where it will be used. A vocal that sounds acceptable in headphones may reveal snare bleed when placed over a new backing track. A karaoke bed may seem clean in the verse but expose reverb and harmony residue in the final chorus."
}
Use this five-part check:
- A/B the outputs. Switch between Isolated sound and Background audio at matched volume. Confirm that the prompt landed on the intended source and that the chosen side serves the project.
- Find residual bleed. Focus on snare hits, bass slides, guitar attacks, room tone, and backing harmonies that should belong to the opposite stem.
- Inspect the low end. Sweep from 20 Hz to 120 Hz and listen for mud, thumps, or sustained energy that suggests kick, bass, or sub leakage.
- Check transient consonants. Listen to sibilants, plosives, breaths, and short words. They should remain defined rather than smear into the accompaniment bed.
- Match the project format. Confirm that the exported file's format, sample rate, bit depth, and length match the session and line up with the source to the frame.
If any check fails, change one variable at a time. Rewrite “vocals” as “lead vocal only,” switch from Isolated sound to Background audio, or move to a different clip if the source itself is too crowded. Changing several things at once makes it impossible to know which decision helped.
Keep the original mix beside the outputs during review. That comparison reveals missing consonants, altered ambience, and bleed far faster than listening to the stem alone. A usable result doesn't need to be flawless, but it should preserve the part that matters and behave acceptably in the next stage of the edit.
Saturalabs lets creators upload supported audio or video, describe one audible source in plain language, and compare Isolated sound with Background audio before downloading. Use the Saturalabs separation workflow for an acapella, karaoke bed, spoken voice, or instrument stem, then check the difficult passages and displayed credit cost before committing the file.