
In this guide
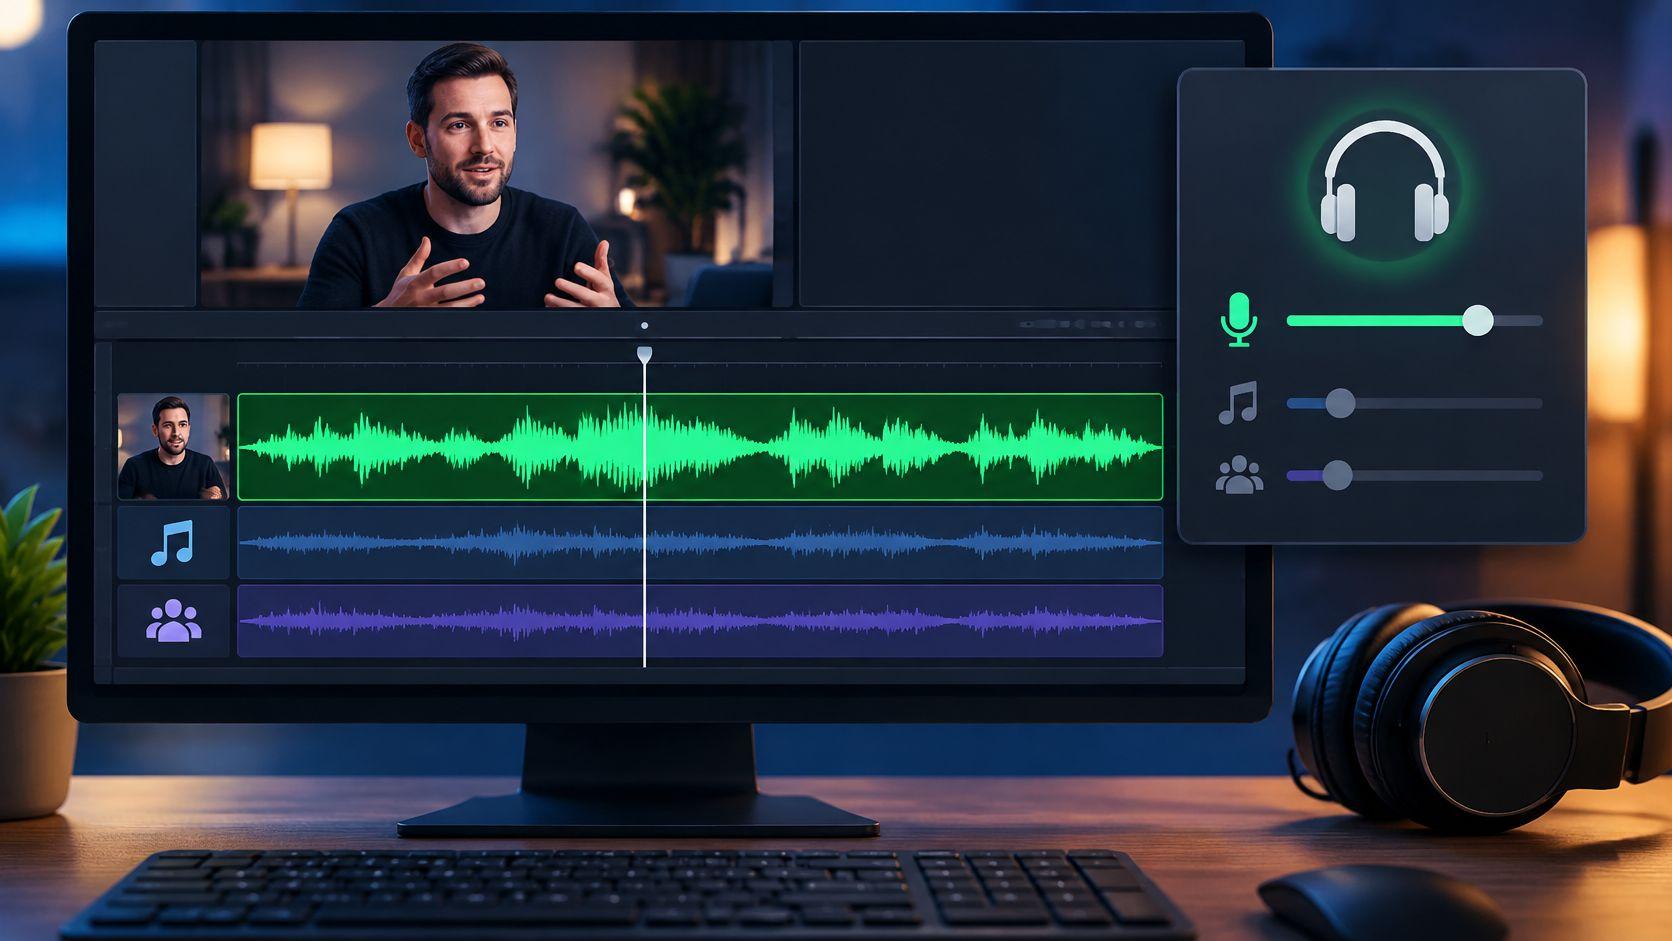
A video interview can sound clear enough while playing, then turn difficult to caption or edit once music, room echo, or another speaker masks the dialogue. Extracting a voice can help, but separation doesn't recover a clean recording from every mix. The task is a version of the classic cocktail-party problem: the voice and competing sounds may occupy the same parts of the recording, so removing one can damage the other.
The practical goal is a dialogue track that works for its intended use, not a supposedly perfect export. Keep the original nearby, compare challenging passages, and decide whether the isolated voice is intelligible and natural enough for the edit.
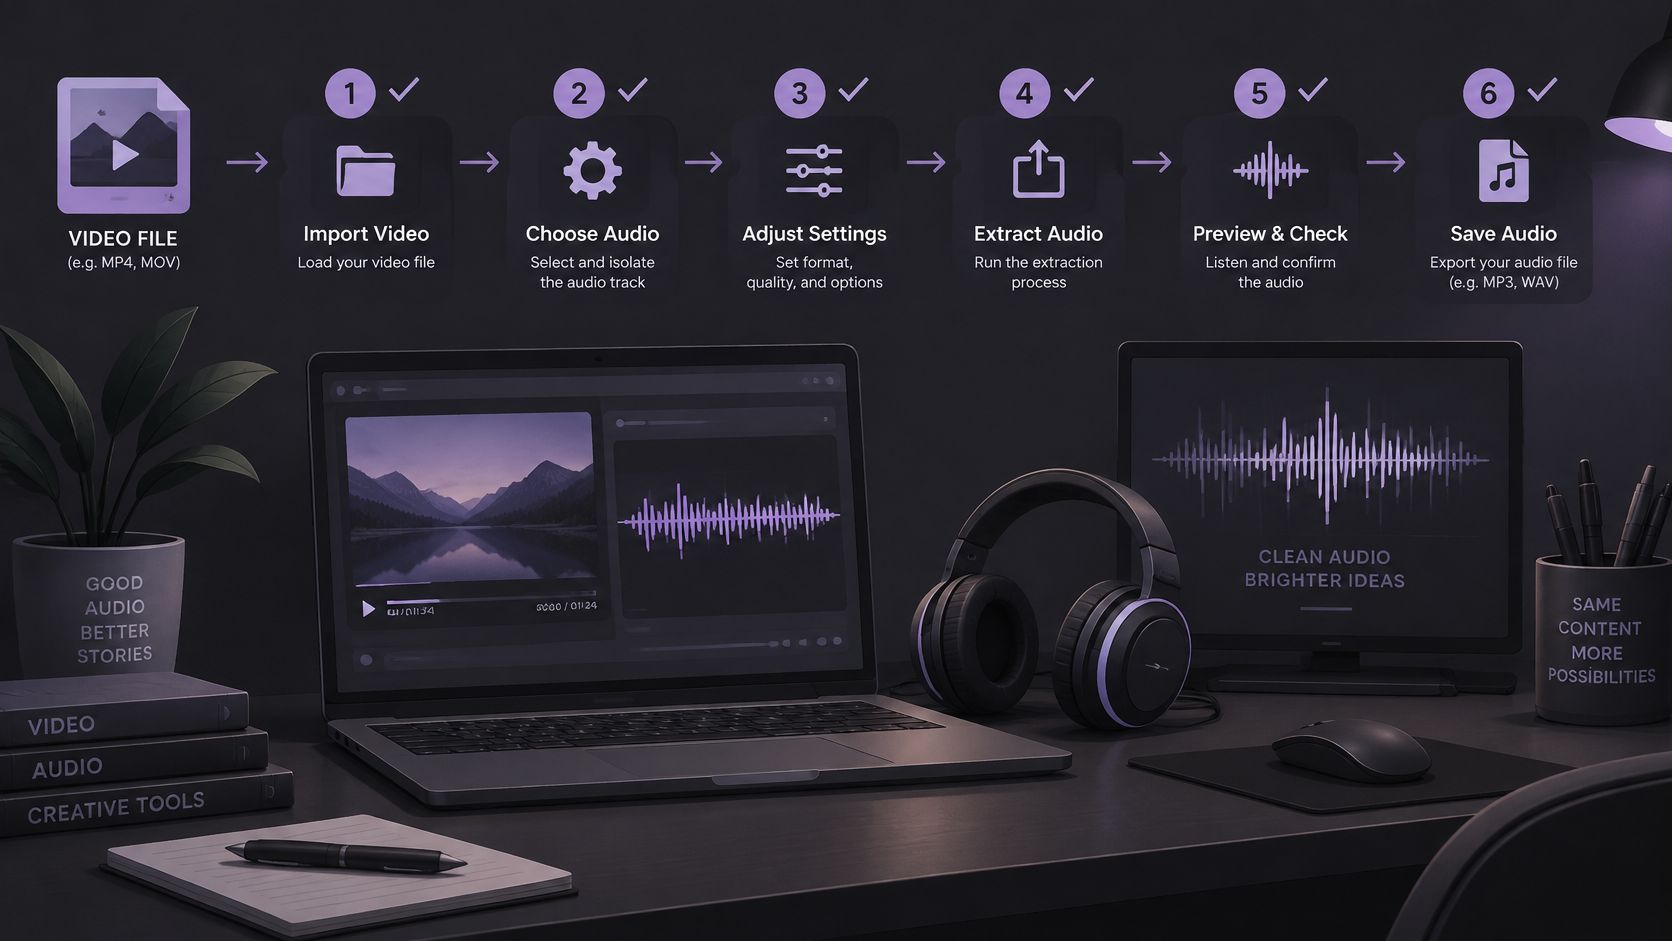
Extract Voice from Video in Six Steps
- Check the file. Confirm that it's an MP4, MOV, MP3, or WAV up to 50 MiB (52.43 MB), and that it plays from beginning to end without dropouts.
- Pick one voice. Identify the speaker you want and note any music, crowd noise, or second speaker that overlaps.
- Write one-source prompt. Describe a single audible target, such as “spoken voice” or “male dialogue.”
- Run the separation. Wait for both output tracks to appear before judging either one.
- Audition Isolated sound. Compare difficult passages with the original, especially overlaps, quiet words, and reverb tails.
- Check the credit cost. Review the results screen before downloading the WAV, then align the audio with the picture in your editor.
Use this quick checkpoint table as you work:
| Step | Check before moving on |
|---|---|
| File | Supported format, under the limit, plays cleanly |
| Target | One wanted speaker identified |
| Prompt | Names one audible source |
| Separation | Both outputs are available |
| Listening | Hard passages compared with the original |
| Download | Credit cost checked and sync plan ready |
The remaining steps below explain how to prepare, prompt, and evaluate the tracks. A result that passes the listening check in step five is the intended target. A flawless track isn't guaranteed.
Prepare the Video and Check the Audio First
Start with a short passage containing the dialogue you need, such as one interview answer. Trimming irrelevant sections makes the result easier to review and keeps attention on the voice rather than long silences or unrelated audio. Supported uploads are MP3, WAV, MP4, and MOV files up to 50 MiB (52.43 MB). Keep an untouched copy of the source for comparison.
Check the recording before upload:
- Speaker at both ends: Play the beginning and end to make sure the words aren't already cut off.
- Clipping: Inspect the waveform for flat-topped peaks, which indicate distortion already baked into the recording.
- Silence and room tone: Trim long empty sections so they don't dominate the clip.
- Overlapping sounds: Note where music, crowd noise, or another speaker competes with the dialogue.
- Channel layout: Notice whether the file is mono or stereo, and preserve the original either way.
For more preparation detail, see this guide to preparing audio for AI isolation.
A video upload produces separated WAV audio tracks, not a finished video. The chosen track must be placed back in the video timeline and checked for sync. If a file exceeds the upload limit, or a local audio copy is useful first, FFmpeg can extract the first audio stream without the video. Use -vn to drop video, -map 0:a:0 to select the first audio stream, and a WAV codec such as pcm_s24le; leaving -ar unset preserves the source sample rate. The FFmpeg codec documentation describes its audio options.
Pre-upload checklist
- Speaker audible at start and end.
- No clipping.
- Silences trimmed.
- Overlaps noted.
- Original saved.
Choose Isolated Sound or Background Audio
Choose the output based on what the edit needs. Isolated sound keeps the source named in the prompt, so it's the output to keep for dialogue cleanup, captions, or a voiceover edit. Background audio keeps the rest of the recording with that target removed, which suits an edit where one speaker should disappear but music or room sound should remain.
| Goal | Output to keep | Audition focus |
|---|---|---|
| Clean dialogue for captions or a voiceover edit | Isolated sound | Missing words and hollow tone |
| Remove one speaker, keep music or room sound | Background audio | Leftover speech in the track |
Use the same audition sequence each time. Play Isolated sound alone at the start, middle, and end of the clip. Then compare each difficult passage with the original, first on headphones and then on speakers. This helps reveal problems that can be easy to miss when listening only to the processed track.
Separate the listening checks by scene type:
- Solo speech: Can the listener follow every word? Does the voice sound natural rather than thin?
- Speech over music: Are words still clear, and does the music leak into the voice?
- Reverberant speech: Do word endings remain intact, or do they fade into a hollow tail?
Listen to Background audio too. Speech left in that track shows what the separation failed to remove, while an unnaturally empty or altered bed may signal that the process removed more than the target. Judge intelligibility, naturalness, and bleed as separate qualities rather than treating a clean-sounding track as proof that every word survived.
Once the preferred WAV is chosen, place it against the picture in the video editor. Check sync across the timeline and inspect level peaks in the edit. The separation tool doesn't align the sound to the video for you.
Write One-Source Prompts for Speech
Name one audible source per prompt. A separation pass targets the source described, so a prompt that asks for voice, music, and crowd noise at once gives the process competing targets instead of a clear instruction. Start with a prompt a listener could match to one sound in the clip.
| Source in the video | Prompt to try | Output to audition | Listen for |
|---|---|---|---|
| Solo interview, one speaker | spoken voice | Isolated sound | Clipped word endings and room tail |
| Male speaker over background music | male dialogue | Isolated sound | Music leaking into low-pitched speech |
| Female presenter in a noisy hall | female interview speech | Isolated sound | Crowd bleed and missing soft consonants |
| Two speakers, one wanted | male spoken voice, close to the microphone | Isolated sound | The second speaker bleeding through |
| Music bed to keep, speech removed | spoken voice | Background audio | Speech remnants in the music track |
Treat the prompt as a description of what to keep, not a guarantee that the output will match perfectly. If it's vague, the result may contain unwanted sound or lose parts of the intended voice. When two people sound similar, a short distinguishing detail can help, but it won't identify a person by name or make overlapping speech easy to separate.
Avoid packing unrelated targets into one prompt. For a clip with dialogue and a crowd, first isolate the dialogue and judge that output. If the crowd or music needs its own treatment, run a separate pass and evaluate that result on its own terms. This makes it easier to hear which prompt helped and which sound remains troublesome.
For more wording patterns and examples, see the guide to audio isolation prompts. A reliable rule is to start with the broadest accurate prompt, such as “spoken voice,” then narrow it only if the first pass leaves the wrong sound behind.
Listening Checks and Fixes for Artifacts
A metallic, watery, or phasey voice usually points to processing artifacts, not leftover background noise alone. Source separation can create three distinct problems: distortion changes the wanted signal, interference leaves sounds from other sources, and artifacts add processing sounds that weren't in the original. These are separate quality issues in research on audio source separation, which is why difficult passages need comparison with the source recording.
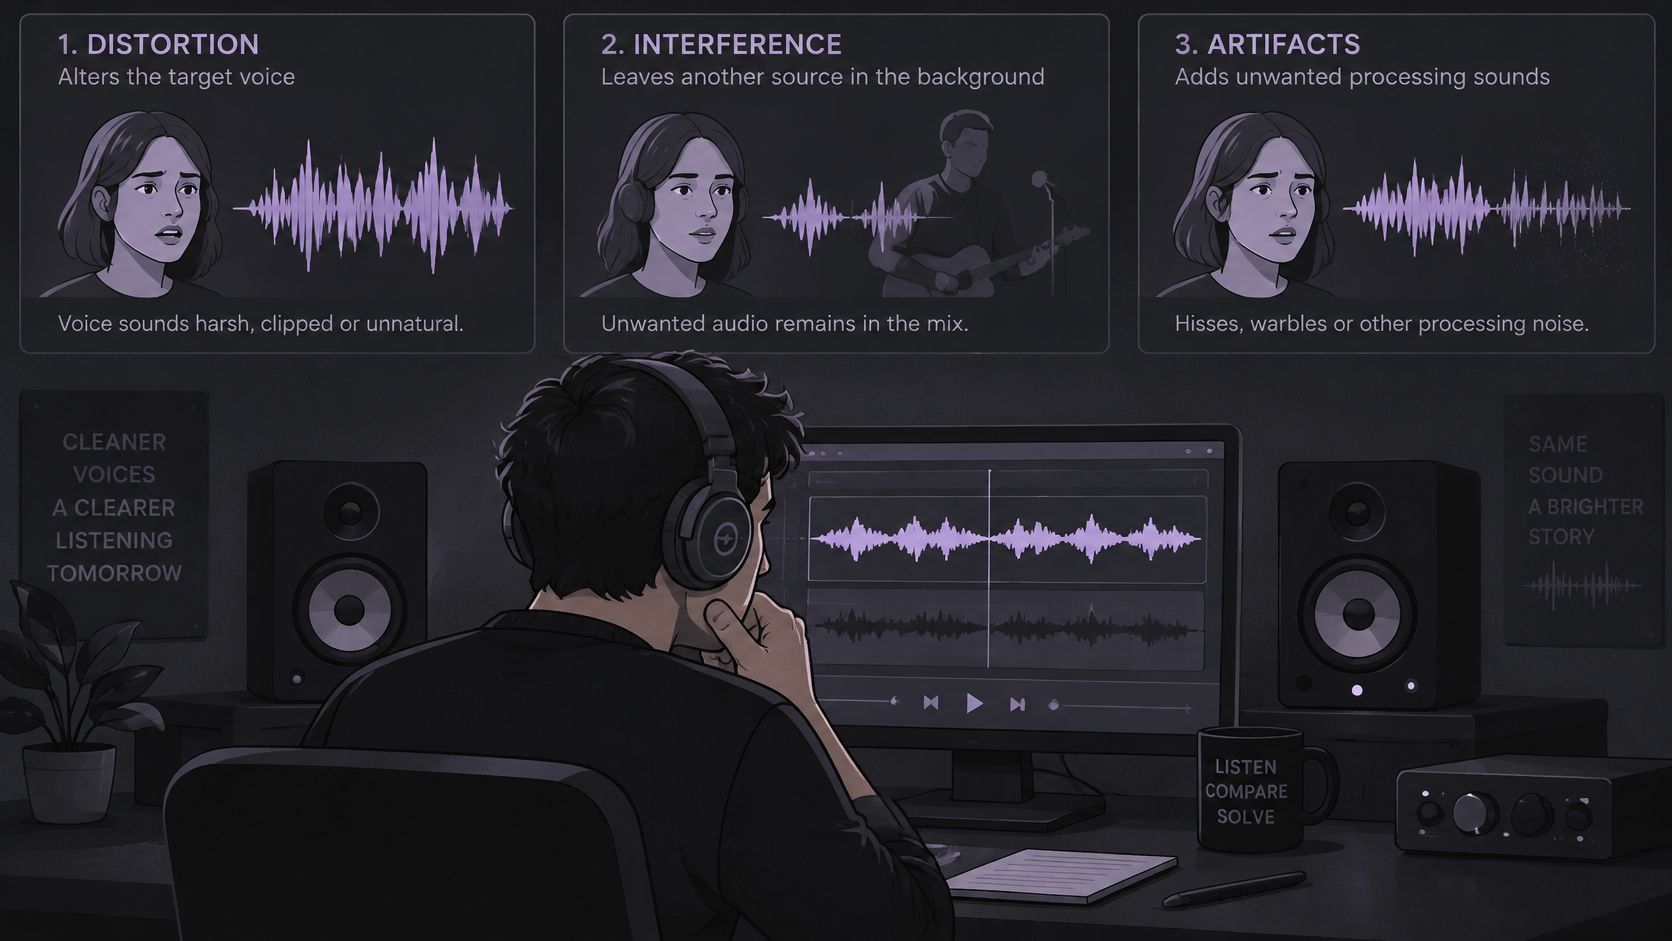
Listen for quiet words, consonants, breaths, reverb tails, and simultaneous speech. Thin or muffled dialogue may mean the target itself has changed. Music or crowd noise under the voice is interference. Strange, fluttering tones that weren't in the original are artifacts.
| Symptom | Likely cause | First fix |
|---|---|---|
| Metallic, watery, or phasey voice | Artifacts from aggressive separation on overlapping sound | Narrow the prompt and audition the other output, or blend a small amount of the original back |
| Words cut off at the start or end | Truncated passage or wanted audio lost | Re-run on a trimmed section and compare with the original |
| Music or crowd still audible under speech | Target overlaps the interference | Narrow the prompt to one speaker and audition Background audio |
| Consonants or breaths disappear | Wanted sound removed with the interference | Shorten the segment and compare the soft passages with the original |
Work through fixes in order rather than changing several settings at once:
- Narrow the prompt. Replace a broad description with one clear speaker or speech type.
- Audition the other output. It may make the remaining voice or background easier to evaluate.
- Try a shorter passage. A section with one speaker or less overlap may separate more cleanly.
- Blend a little original audio back in. If consonants sound damaged, a small amount can restore detail, though it also brings some background back.
Overlapping sources, clipped recordings, strong wind, and heavy reverberation can limit the result. Separation can't guarantee recovery of words that are missing or masked beyond recognition. If the dialogue remains too noisy after these checks, try a separate background-noise removal workflow for video. The right choice is the version that preserves the words needed for the edit, even if it retains some audible background.
Practical rule: Compare the same hard passage in the original and both outputs before deciding that one track is clean enough.
Confirm Rights Before You Export or Reuse
The technical ability to isolate a voice doesn't grant permission to publish the recording or use the speaker's likeness. Before exporting or reusing a track, confirm the rights for the specific use.
- Check ownership: Confirm that the video belongs to the editor or that the owner has given written permission.
- Identify speakers: Note who is recognizable and what each person agreed to.
- Get consent for reuse: Obtain permission before commercial reuse, remixing, or imitating a speaker's voice.
- Keep provenance: Save the original and record the prompt and export settings used.
- Disclose changes: Disclose synthetic or altered audio where platform rules or local requirements call for it.
The U.S. Copyright Office's fair-use guidance explains that copyright owners generally control reproduction, adaptation, distribution, performance, and display. It warns that uploading or downloading protected works without authorization can infringe, and statutory damages can reach $30,000 per infringed work or $150,000 for willful infringement. Those figures describe U.S. law, not a universal rule.
Requirements vary by country and intended use. Check platform terms and seek legal advice for paid or widely distributed work. A separated voice isn't a license to clone the speaker. Before every export, ask: Do we have permission for this exact use?
Run Your First Extraction and Check the Credit Cost
Start with one short dialogue clip under the upload limit, preferably a passage centered on one speaker. Use “spoken voice” as the first prompt, or describe the specific speaker if another voice overlaps. When both tracks are ready, audition Isolated sound at the hardest passages against the original before downloading.
The results screen shows the credit cost before the chosen WAV is downloaded, and separated-audio downloads require an account with sufficient credits. Check the amount shown before committing. For a clearer view of how credits fit into the workflow, read why credits matter for audio isolation. Plan allowances and prices can change, so confirm current plan details before buying.
Don't treat a smooth-sounding export as proof that the dialogue is intact. Compare the result with the original, listen for missing words and damaged consonants, then download only if it holds up for the intended edit.
Saturalabs offers text-guided voice isolation for video and returns the separated audio as WAV, ready to place in a video timeline. Visit Saturalabs to try a spoken-voice prompt and compare the result with your original before downloading.