
In this guide
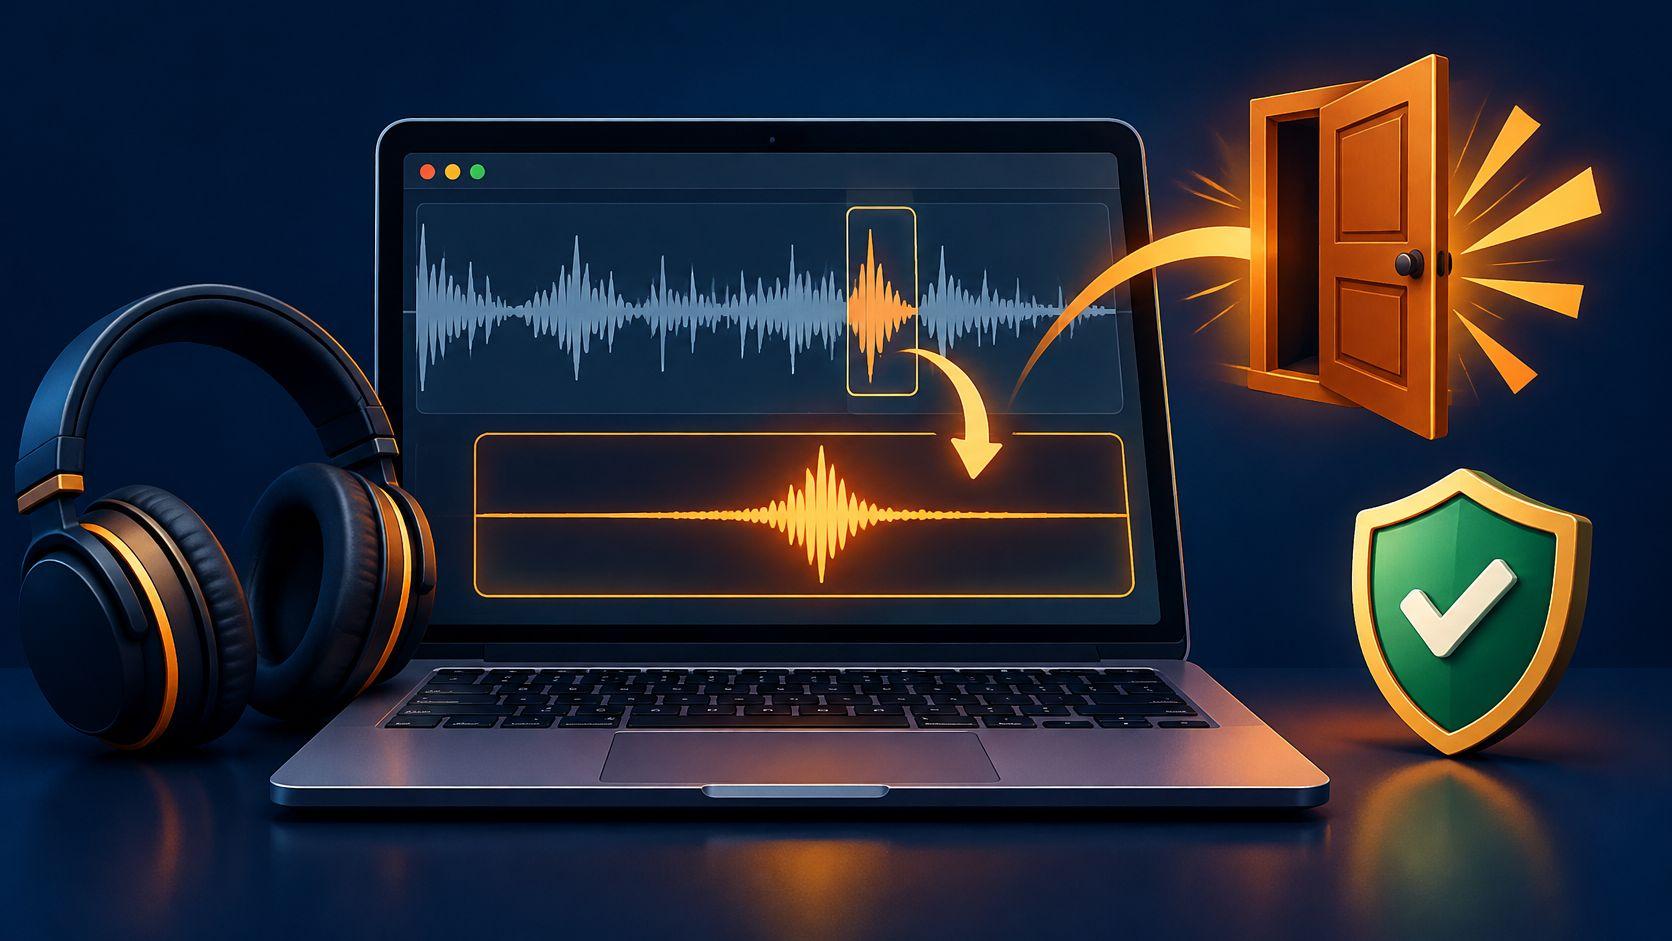
The edit is nearly finished, but the door closes without a convincing slam. A library search returns the wrong material, the wrong room, or an impact that sounds oversized. Meanwhile, the right sound is already audible beneath dialogue in a recording from the project.
Knowing how to get sound effects means choosing between recording, licensing, and extraction, then checking whether the result works in the scene. Extraction is a useful fallback when library keywords fail, but a recognizable sound isn't necessarily a usable asset. Its attack, decay, background leakage, and permission for reuse all matter.
Choose the Right Source for Your Effect
There are three practical routes: record the sound, download a licensed recording, or isolate it from an authorized source file. Start with three questions. Does a clean version already exist? How exact must the sound be? How much production time is available?
A generic drawer closing is usually faster to record than to search for. A distinctive machine can justify a library purchase. A door slam buried beneath interview dialogue is worth an extraction test when the recording is authorized for that use, provided the separated event survives a listening check against the original.
Ways to get a sound effect compared
| Route | Best for | Rights check | Main limitation |
|---|---|---|---|
| Record your own sound | Doors, footsteps, room tone, objects | Retain ownership of the take; get permission for locations and people | Time, equipment, and a quiet space |
| Download from a licensed library | Common generic effects | Read each file's license, including commercial and attribution terms | Keyword search can miss the exact sound |
| Isolate from a file you own | An effect buried in dialogue, music, or video | Use only uploads covered by appropriate rights | Bleed, artifacts, and missing transients in dense mixes |
Recording gives control over perspective and performance. Under U.S. rules, copyright generally arises automatically when an original work is created and fixed, without registration, according to the U.S. Copyright Office's copyright overview. Ownership still needs documenting, especially when collaborators or commissioned recordings are involved.
Extraction sits at the opposite end of the effort scale. The performance already exists, so the work is separating it from whatever surrounds it and confirming the attack and decay still read correctly against the source recording.
Practical rule: Record simple, repeatable actions. Download an exact licensed match. Test extraction when the desired event already exists inside an authorized clip.
For interactive projects, the guide to free sound effects for video games covers sourcing options in more depth. Whichever route you choose, the deciding factor is how much work remains before the sound fits the scene.
Record Your Own Sound Effect
- Choose a specific action. A drawer sliding shut, shoes crossing gravel, or a kettle being placed on a counter gives the recording a clear purpose. Capture the action the scene needs rather than a collection of unrelated noises.
- Reduce avoidable background sound. Switch off fans and nearby appliances where practical. Wait for passing traffic instead of assuming noise reduction will remove it cleanly.
- Set a stable microphone position. Keep the distance consistent within a take. Change position between takes to compare a close, detailed sound with a more distant room perspective.
- Leave recording headroom. Rehearse the loudest action while watching the input meter. Lower the gain before recording if impacts approach clipping.
- Capture room tone. Record the space before and after the action without handling the microphone. That ambience can help conceal edits and support natural crossfades.
- Vary the performance. Capture lighter and heavier actions, different speeds, and alternate distances. Check playback before dismantling the setup.
- Preserve the master. Save the untouched recording separately and edit a copy.
Document the take before editing
A useful filename identifies the source, action, perspective, and take. Project notes should add the recording date, location, microphone, contributor details, and any restrictions. Permission should be arranged before recording identifiable people or working on private property.
For actions performed to picture, the Foley sound effects guide provides relevant production context. Synchronization matters: an excellent recording can still feel wrong if the impact arrives before the visible contact.
The first listening check should focus on the complete event. A clean opening click isn't enough if handling noise interrupts the decay or the microphone misses the body of the impact.
Describe the Sound in Layers When Keywords Fail
A search for a door slam can miss a useful recording labeled metal door, heavy closure, or interior bang. Repeating the same query won't fix inconsistent labeling. The better approach is to describe what happens and how it sounds.
A study of sound-search interfaces discusses inaccurate or incomplete metadata and how sound designers combine sound classes, acoustic qualities, visual context, and causal relationships. That explains why an object name alone can be a poor search strategy.
| Description | What it communicates |
|---|---|
| Door sound | An object category, with little information about the event |
| Single metal door slam, close perspective, short room tail | Source, action, material, perspective, and acoustic setting |
Build an audible description
A layered description gives both library searches and extraction prompts a clearer target:
- Source: Door, shoe, drawer, engine, or another identifiable object.
- Action: Slam, scrape, strike, roll, or click.
- Texture: Metallic, hollow, rattling, gritty, or soft.
- Perspective: Close, distant, or off-camera.
- Environment: Dry interior, short room tail, or reverberant corridor.
- Duration: A brief impact, sustained movement, or repeating sequence.
Duration should describe the event already present, not demand that a separator invent a different one. Likewise, a close perspective is useful only if the source recording contains that perspective.
Try related words without confusing distinct actions. Slam, bang, and thud may retrieve alternate descriptions of an impact. Latch click and hinge creak describe different components that might need separate searches.
Better wording helps identify a sound. It doesn't supply acoustic detail missing from the recording.
If text search still fails, an authorized recording containing the event becomes a practical reference. For extraction, name one audible source per prompt, rather than combining footsteps, rain, and dialogue. The prompt-engineering best practices guide offers broader guidance; the sound-effects task remains narrower: identify the event, then listen for anything mistakenly retained alongside it.
How to Extract a Sound Effect with Saturalabs
Saturalabs uses text-guided audio/video isolation, not general video editing or music generation. Its basic workflow is to add audio or video, describe one sound, and compare both returned tracks.
The source recording determines whether extraction is worthwhile. An audible, reasonably distinct event is a better candidate than a sound almost completely masked by speech or music.
Prepare and separate the event
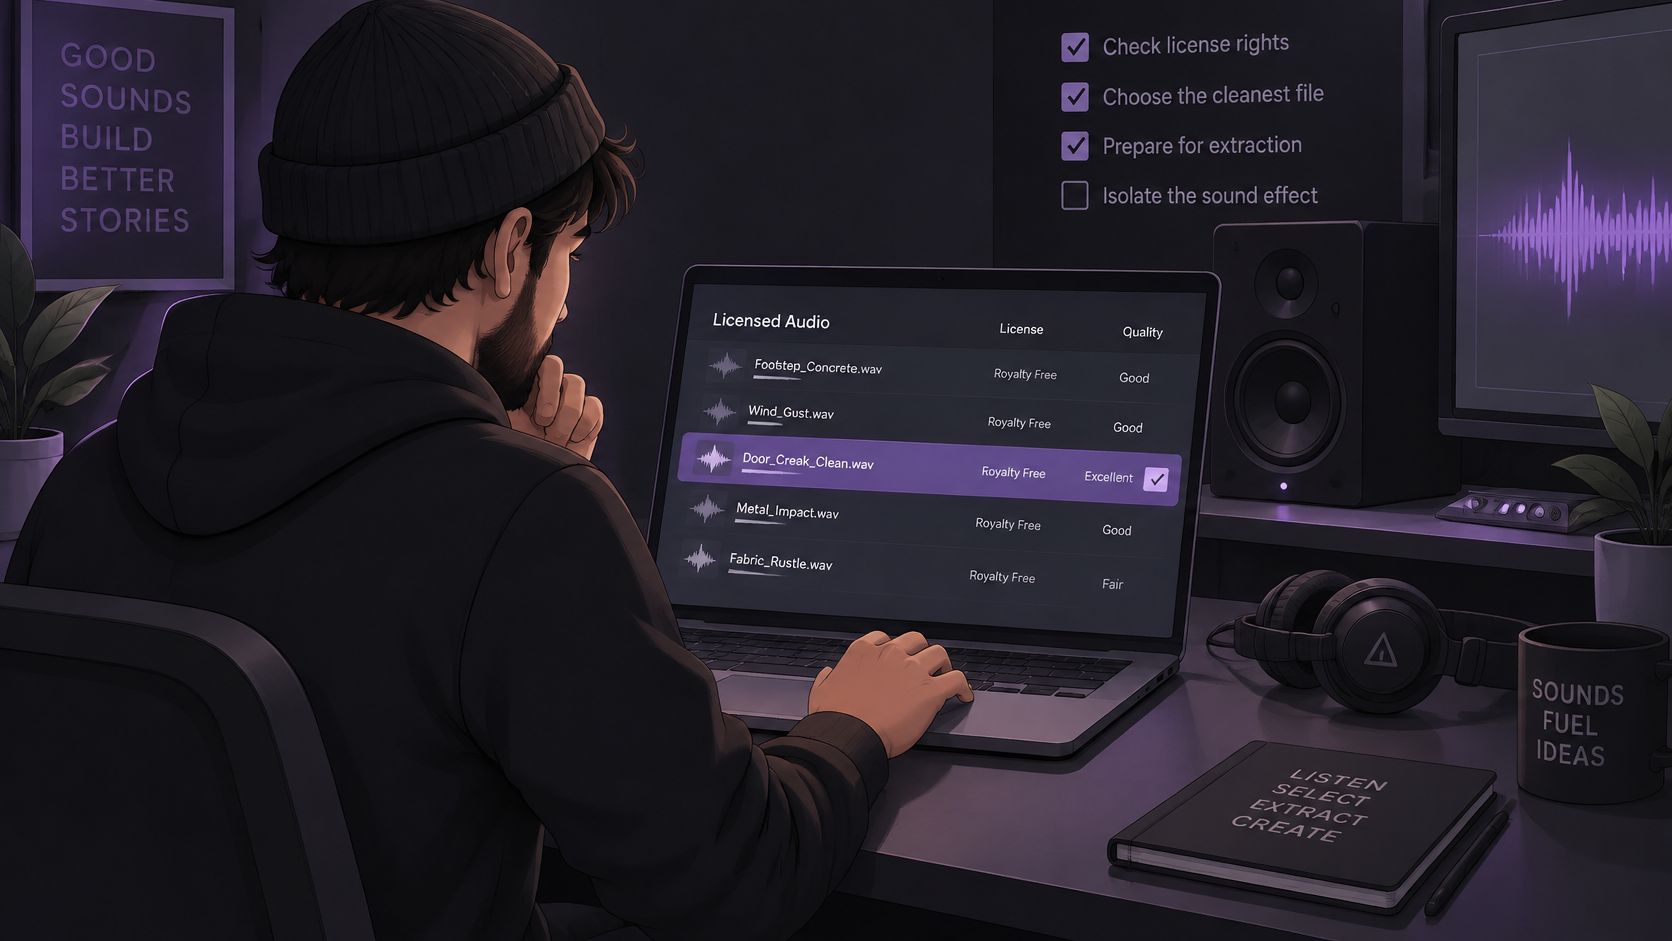
- Confirm permission and choose the cleanest source. Supported uploads are MP3, WAV, MP4, and MOV up to 50 MiB (52.43 MB). Use the least damaged available recording rather than a heavily compressed copy when possible.
- Prepare a focused excerpt. Trim in an editor before uploading, while retaining the full attack and decay. Cutting too tightly can remove the very detail needed for a natural effect.
- Upload and audition the passage. For video, upload a supported MP4 or MOV and identify the audible source. Confirm that the chosen passage contains the required event.
- Describe the target. A suitable prompt is single metal door slam, close perspective. Keep the description tied to what can be heard, without adding unrelated sources.
- Choose the appropriate output. Isolated sound keeps the source named in the prompt. Background audio is the remaining recording with that source removed or reduced.
The output choice follows the named target, not the project category. For karaoke, the target is vocals and the useful output is Background audio. For speech extraction, the target is spoken voice and the useful output is Isolated sound.
Compare before accepting
- Match listening levels. Compare the extracted event with the original at similar perceived volume. Check the initial impact, the body of the sound, its stereo position, and the complete decay.
- Inspect difficult overlaps. Listen where the event coincides with speech, music, or another impact. Also audition Background audio to judge whether wanted detail was left behind.
- Revise selectively. Adjust the target description or excerpt boundaries when the result misses the event. Process distinct effects separately rather than asking one pass to collect an entire scene.
Keep the original available for manual repairs and crossfades. Confirm the displayed output format before planning the next edit: separated tracks download as WAV audio, and a video upload doesn't produce a finished video. The chosen audio must be aligned with the picture in a video editor.
Troubleshoot Artifacts, Missing Transients and Leakage
A door slam overlapping a louder voice may return with a watery attack even when the separator identifies the correct event. Recognition and recovery aren't the same thing. The output can contain the right source while losing the sharp detail that makes it convincing.
Overlapping sources, clipping, strong microphone wind, and heavy reverberation can limit isolation. Separation can also change tone or introduce artifacts. It doesn't guarantee recovery of detail that the recording failed to capture.
Symptoms, likely causes and fixes
| Symptom | Likely cause | Fix to try |
|---|---|---|
| Watery or smeared attack | Effect overlaps louder sources or heavy reverb | Trim tighter, re-describe the target, and compare a shorter section |
| Dialogue or music still audible | Description is too broad or sources are closely mixed | Name only the effect and audition Background audio to hear what remains |
| Dull or clipped transient | Target masked by a louder impact or heavy compression | Process difficult sections separately and keep the original for repair |
| Musical residue in the tail | Overlapping tonal sources | Isolate a shorter section and use the original for the tail only if its other content is acceptable |
| Room tone lost | Ambience treated as noise | Describe the ambience separately or retain the original bed for crossfades |
Change the source passage before adding processing
Start with a shorter excerpt that still contains the complete event. If a longer passage changes character, split it where the source moves, changes timbre, or meets different interference. A single description may not suit every part of the recording.
Heavy denoising before separation can smear attacks and make later artifacts harder to judge. If an editing chain dulls the transient or adds ringing, bypass it and compare the cleaner version. More processing won't reliably reconstruct the missing impact.
For persistent environmental interference, the guide to removing background noise from video addresses that broader cleanup task. A sound-effect extraction pass should remain focused on recovering the event.
Check beyond the loudest moment
Quiet tails often expose speech fragments or musical residue that disappear beneath the initial impact. Listen through the overlap itself, then through the silence immediately afterward.
The EBU R 128 recommendation provides programme-loudness and true-peak delivery references. Metering the complete result matters, but passing a loudness check doesn't prove that separation sounds clean.
Stop rule: After two targeted attempts fail to recover a usable event, switch to a licensed library recording or record the effect instead.
Clean, Layer and Check Loudness Before Export
Treat the extraction as a sound-design layer, not a guaranteed clean stem. Cleanup should make a useful recording fit the scene, rather than conceal an unsuccessful separation beneath an elaborate processing chain.
A practical finishing sequence is:
- Trim to the useful event, preserving enough decay for a natural ending.
- Add short edge fades to prevent clicks at edit points.
- Set gain in context, against the dialogue, music, and ambience.
- Inspect the loudest impact with a true-peak meter.
- Limit only when necessary to meet the project's delivery specification.
Keep an unprocessed copy available throughout. Adobe's Effects Rack documentation describes nondestructive multitrack processing, which supports auditioning alternative chains without committing changes to the source.
Use delivery references in the right context
Loudness references from EBU R 128 guidance
| Context | Reference | Tolerance or ceiling |
|---|---|---|
| Programme loudness | −23.0 LUFS | ±1.0 LU when the target cannot be achieved |
| True-peak ceiling | −1 dBTP | Production maximum, measured with ITU-R BS.1770-compliant meters |
| Short-form content | −18.0 LUFS maximum short-term | Retain the −1 dBTP true-peak ceiling |
These are delivery references for applicable programmes, not instructions to normalize every isolated door slam to programme loudness. The destination's specification determines the final target.
Meter the full mix, including retained speech and ambience. Sample-peak normalization alone can miss inter-sample peaks in the reconstructed analog signal, so the true-peak check belongs after processing and layering.
For layering, match the effect's tonal balance and room perspective to the scene. A dry impact may need restrained ambience; an already reverberant extraction may become less believable with more reverb. Recheck the result beside neighboring sounds and compare it with the unprocessed version before export.
Confirm Rights and Credit Cost Before You Download
Isolating a recording doesn't clear it for publication. Owning a downloaded file, video disc, or project copy isn't necessarily permission to reuse its contents. Rights attach to the specific recording and the intended use, not to a sound category such as footsteps.
The Copyright Office's fair-use guidance states that there's no fixed number of seconds that can automatically be used without permission. A short extraction from a film, song, or podcast isn't automatically safe because it contains little audio.
Keep an asset record
The practical licensing considerations discussed in Jack Righteous's guide to AI sound effects for creators include commercial restrictions, attribution, and redistribution conditions. Save those conditions with the asset rather than relying on a library page remaining unchanged.
- Source record: Preserve the original recording and its file identifier or location.
- Permission evidence: Save the license text or written authorization covering the intended project.
- Download details: Record the download date and required attribution wording.
- Project notes: Document edits, collaborators, and restrictions affecting later reuse.
- Residual content check: Listen for recognizable dialogue, music, or other third-party material left in the extraction.
A session stem and an isolated effect also serve different purposes. The guide to stems versus audio isolation helps distinguish the deliverable before committing to a download.
Finally, confirm that the chosen take fits the intended use and passes a last comparison with the original. Saturalabs displays the credit cost before the selected WAV is downloaded; separated-audio downloads require an account and sufficient credits. Check current pricing and the displayed cost rather than assuming that an acceptable preview includes a free download.
Saturalabs offers text-guided isolation for extracting an audible sound effect from an authorized audio or video recording. Visit Saturalabs, describe a single target, and compare the isolated sound with the remaining mix before downloading a take for the edit.