
In this guide
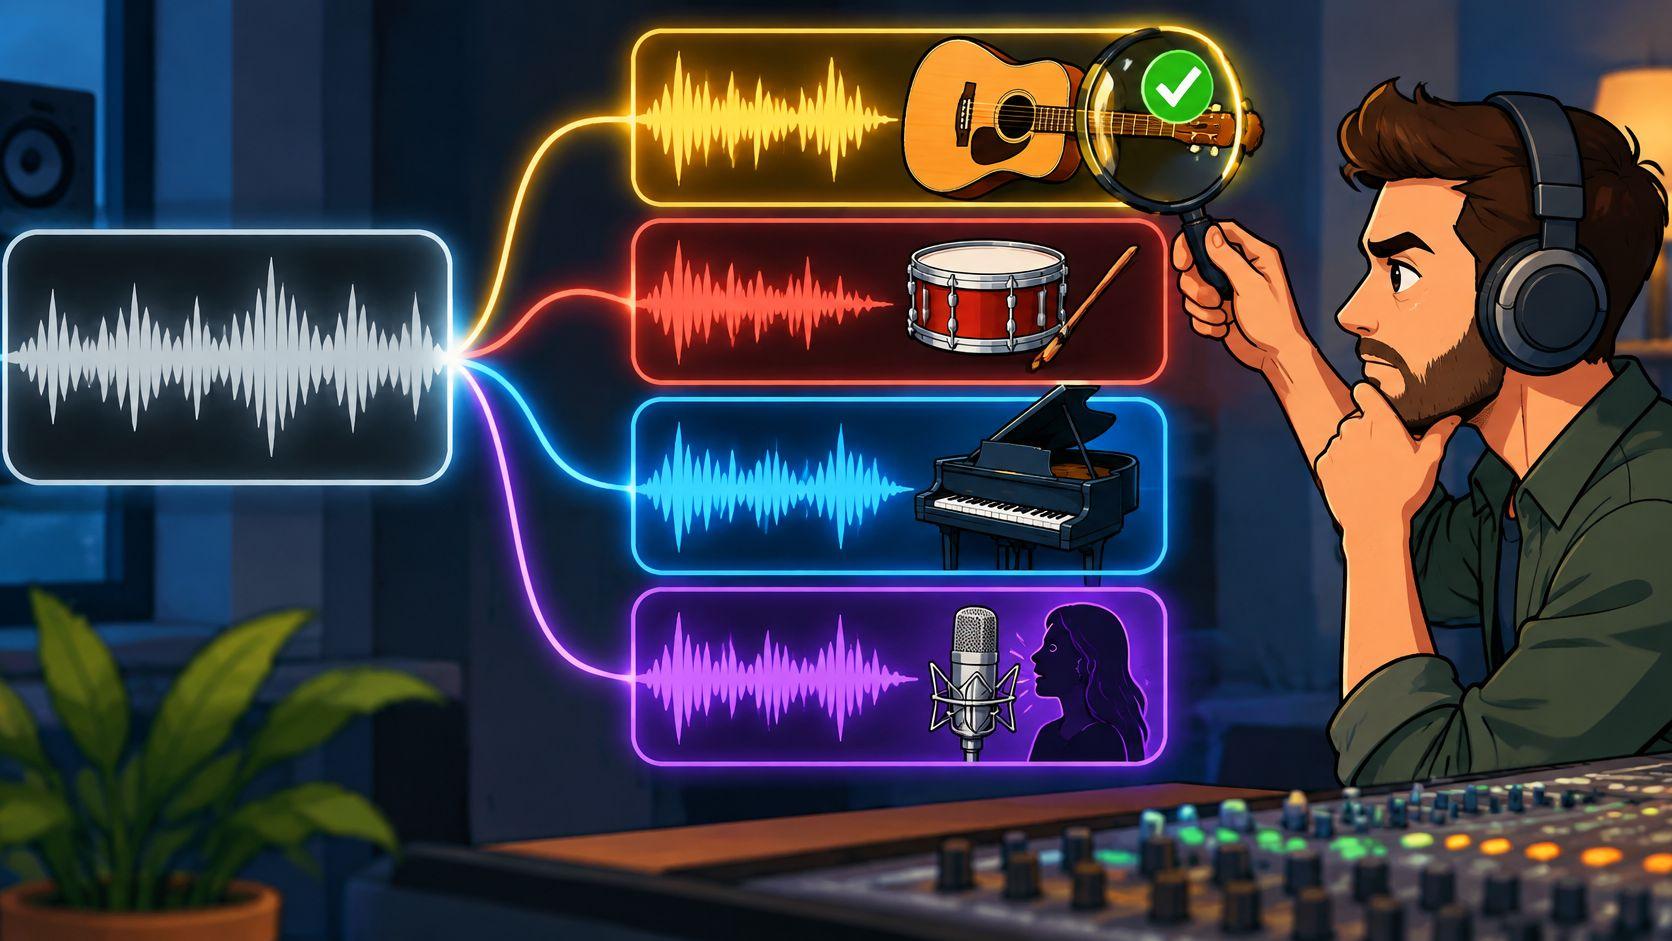
You have a finished song open, a guitar part you want to learn, and no access to the original session. The mix sounds clear enough on headphones, but the part disappears under the vocal in every chorus. That's the usual starting point for instrument separation, and it's also where expectations need adjusting.
Learning how to separate instruments in a song isn't about recovering a perfect multitrack. It's about naming one audible source, choosing the right output, and judging the result on the hardest passages rather than a clean intro. A stem that sounds tidy solo can fall apart in context, while a slightly imperfect one can still work well for practice. The ear, checked against the original, decides.
Choose the Target and Output Before You Upload
The most important decision happens before any file is uploaded. Saturalabs runs one described source per pass, so it doesn't split every instrument at once. Each pass returns two versions to compare, and keeping the wrong one wastes time even when the separation itself is decent.
Isolated sound keeps the source named in the prompt. Background audio keeps the rest of the recording with that source reduced. Those are different tools for different jobs, not two names for the same file.
Prompts and Output Tracks by Goal
| Goal | Example prompt | Output to keep | Check first |
|---|---|---|---|
| Practice a guitar part | isolate acoustic guitar | Isolated sound | Strumming and fills against the original |
| Make a karaoke backing track | isolate vocals | Background audio | Vocal tails and backing harmonies |
| Study a snare fill | isolate snare drum | Isolated sound | Ghost notes and hi-hat bleed |
| Play along to a cover without bass | isolate electric bass | Background audio | Low-end thinning |
| Learn a piano passage | isolate acoustic piano | Isolated sound | Sustain and overlapping chords |
| Hear vocals without the guitar | isolate electric guitar | Background audio | Vocal clarity in busy sections |
Notice that three of those goals keep the background, not the isolated track. A karaoke singer doesn't need a pristine vocal. A bassist practicing along to a cover needs the band minus the bass. Choosing Background audio in those cases means the target in the prompt is the thing being removed, which feels backwards until it's stated plainly.
Write a Prompt That Can Be Tested
A vague prompt creates an untestable result. Asking for "music" or "everything except drums" gives the system no single source to follow, and gives the listener no clear standard for judging what came back.
Name the instrument by function and context instead. "Solo electric guitar in the center, including its distorted sustain" is testable. So is "acoustic piano playing the chord progression" or "kick drum and snare only." When similar sources overlap, state the distinction, such as "female lead vocal" rather than "background harmonies," or "electric bass, not low piano notes."
Simple test: If the instrument itself is the goal, keep Isolated sound. If everything else is the goal, keep Background audio. Audition both before committing.
That last point matters more than it sounds. The background track reveals what the model removed, including ambience or parts of other instruments that went with it. Listening to only one side hides half the evidence.
Preflight Checks That Save Credits
A short screen before uploading prevents most wasted passes. These checks take a couple of minutes and they're cheaper than re-running a separation on a file that was never going to work.
Format, Size and Audibility
- Supported format: Confirm the file is MP3, WAV, MP4 or MOV and up to 50 MiB (52.43 MB). For an unsupported format, convert an authorized source; for an oversized file, prepare a shorter excerpt and retain its timing.
- Audible target: Confirm the instrument is present and audible in the file. Separation can't recover a part that's absent from a clip or buried so far under louder sources that it can't be heard at all.
- Video audio track: For MP4 or MOV uploads, check that the audio track contains the instrument named in the prompt. A muted or wrong audio stream produces a meaningless result.
Source Quality and Difficult Conditions
A lossless WAV gives the system more information than a small, heavily compressed MP3 preview. Lossy encoding discards detail and adds its own artifacts, and those artifacts can be mistaken for part of the instrument or can smear the edges the model relies on. Use the highest quality version available.
Some conditions limit any isolation result regardless of the prompt. Overlapping sources, clipping, strong microphone wind, and heavy reverberation all make separation harder. A live recording with a room filling reverb tail is a tougher job than a dry studio mix, because the reverb belongs to several sources at once and can't be assigned cleanly to one of them. The guide on preparing audio for AI isolation covers file preparation in more depth for readers who want to clean up a source first.
Finally, decide what the result will be judged against. Keep an untouched copy of the original and pick one passage that's already familiar, such as a specific guitar fill or snare pattern. That fixed reference prevents the common error of judging an output in isolation and deciding it sounds fine because nothing is there to contradict it.
If a file fails two of these checks, the practical expectation changes. The output may still serve as a practice reference or editing layer. It shouldn't be planned as a final, clean stem.
Run One Pass and Audition the Result
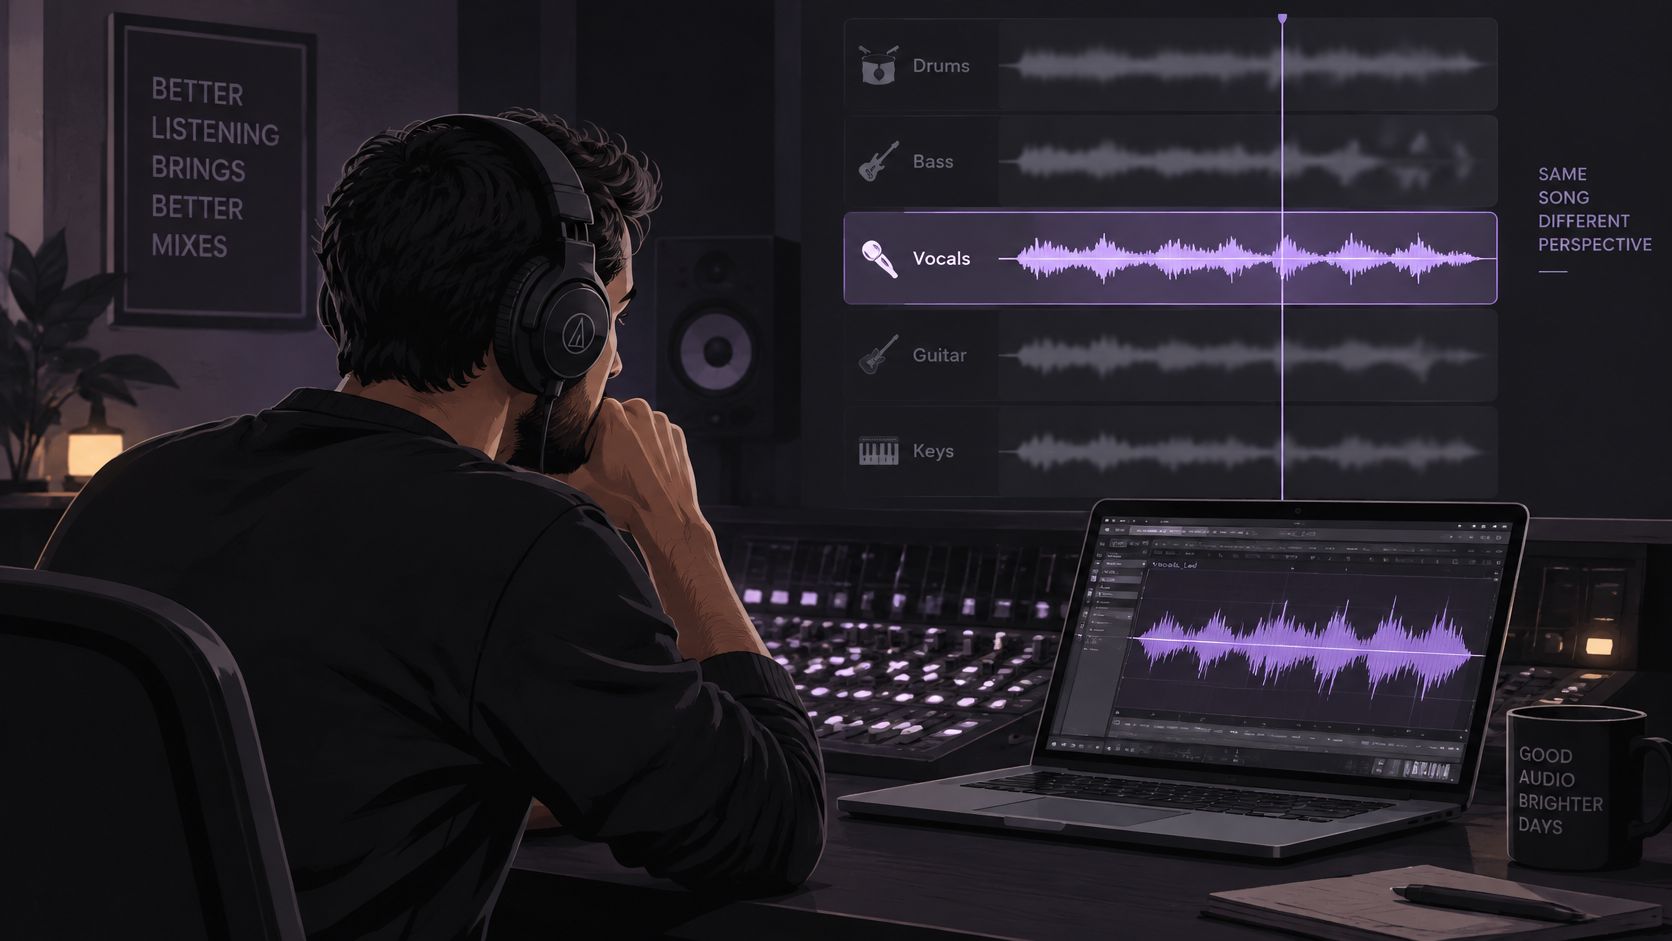
The workflow comes down to three steps. Add audio or video, describe one sound, then compare both tracks. The steps below expand the third one, because that's where most of the actual work sits.
The Pass, Step by Step
- Upload the approved file in a supported format up to 50 MiB (52.43 MB), preferring a lossless WAV over a heavily compressed MP3 because the extra detail improves the model's chances.
- Write one prompt naming a single audible source with a distinguishing detail, such as "isolate acoustic guitar" plus the specific part, because one clear target is easier to follow than a list.
- Run the separation and read the displayed credit cost for that file, since downloads require an account and sufficient credits, and don't download until the result has been heard.
- Level-match the isolated output against the same instrument in the original mix, because a louder file almost always sounds better in a quick comparison and that bias hides real flaws.
- Audition in mono and stereo, solo short attacks of about a second, then play the full passage through the busiest chorus, cymbal hits, bass transients and overlapping vocals, since a clean intro reveals very little.
- Reinsert the output into the session and listen with the arrangement running, because solo playback hides bleed that's obvious once other parts return.
- Repeat with narrower wording if another source remains, such as "lead electric guitar in the center," rather than changing several things at random and learning nothing from the change.
- Download the output that was kept once it passes the checks below, retaining both versions until the arrangement has been heard in context.
Why Numbers Don't Settle the Question
Benchmarks can help compare systems, but their labels and test material limit what a score tells you. The MUSDB18 corpus provides 150 songs with vocals, drums, bass and an “other” group, rather than a separate reference track for every instrument. A guitar or piano result still needs a listening check on your own recording.
Metrics also measure different failures. Source-to-Distortion Ratio (SDR) covers overall distortion, Source-to-Interference Ratio (SIR) emphasizes leakage from other sources, and Source-to-Artifacts Ratio (SAR) emphasizes processing artifacts, while scale-invariant measures such as SI-SDR reduce sensitivity to arbitrary gain differences. Research discussed in a recent evaluation of separation metrics reports that modern systems can exceed 9 dB SDR on MUSDB18-HQ, and found that SI-SAR better predicted listener ratings for drums and bass than SDR, while SDR remained more useful for vocals.
That split supports different acceptance criteria by source. Vocal extraction should prioritize intelligibility and low leakage. Drum and bass isolation should prioritize transient integrity and low artifact levels. A benchmark figure is a dataset-specific reference, not a promise for an arbitrary commercial master with reverb, clipping or lossy encoding.
An apparently clean solo stem can still contain bleed that becomes obvious after remixing, compression or loudness normalization. Test it the way it will actually be used.
Listening Checks by Source
| Source | Check | Reject when |
|---|---|---|
| Drums | Kick and snare hits against the original | Cymbal bleed smears the transients |
| Electric bass | Low notes on sustained passages | Thinning or pumping on held notes |
| Vocals | Lyric clarity in the busiest chorus | Backing vocals remain or consonants are lost |
| Guitar or piano | Chord clarity and sustain tail | Notes blur or the reverb changes |
Keep Isolated sound when the named source is what's needed, such as "spoken voice" for speech. Keep Background audio when the remainder is the goal, such as karaoke or music removal. Comparing the challenging sections before spending credits on a final download is the cheapest quality control available.
Fix Bleed, Artifacts and Missing Sound
Most disappointing results follow a small set of patterns. Starting from the symptom that's audible, rather than re-running the same prompt and hoping, makes the next pass a deliberate change instead of a guess.
The commonest problem is another instrument audible in the target. Two sources that share a frequency range or a reverb tail are hard to tell apart, because the mixture doesn't contain a clean boundary between them. Narrowing the prompt to a distinctive part gives the model a more specific pattern to follow.
Symptoms, Causes and Fixes
| Symptom | Likely cause | Fix |
|---|---|---|
| Another instrument audible in the target | Shared frequency range or reverb | Narrow the prompt to a distinctive part, such as lead electric guitar in the center |
| Target sounds watery or metallic | Artifacts in a dense passage | Audition a shorter section and retry with a specific prompt |
| Attacks soft or missing | Transients lost in an overlap | Compare the first hit with the original and retry with closed hi-hat or similar |
| Target missing in some bars | Sound buried under louder parts or absent | Check the file and listen to the passage in the original |
| Background still contains the target | Target described too broadly | Describe the sound by function and context and run again |
| Piano notes blur together | Overlapping harmonics | Try low piano notes or a single register |
| Clean solo, weak in the mix | Bleed hidden by solo playback | Keep both outputs and test the part in context |
Reading the Symptom Correctly
Watery or metallic coloration usually appears where the arrangement is densest. Shortening the section under review makes it easier to hear whether the artifact is constant or confined to a few bars, and a more specific prompt often reduces the model's guesswork in exactly those bars.
Soft or missing attacks point to transients lost inside an overlap. A picked string or a closed hi-hat shares its first milliseconds with cymbals and consonants, so the opening of the note can be assigned to the wrong source. Comparing the very first hit against the original is the fastest way to confirm it.
Piano notes blurring together is a harmonics problem. Simultaneous notes overlap in frequency even when the part is conceptually obvious to a listener. Asking for one register, such as low piano notes, narrows the target to something separable.
Separation can leave bleed, change tone, or introduce artifacts, and it doesn't guarantee recovery of missing words or notes. That's a limitation of the source material as much as the tool.
Judgement call: A single remaining artifact isn't a failure if the part still serves its purpose, such as practice or transcription. It is a reason not to present the file as a clean studio stem.
When the target is missing in some bars, resist the urge to keep re-prompting. Check the original first. If the part is absent or buried there, no wording change will produce it, and further passes only spend credits.
Practice, Remix and Study Workflows
Three common jobs use the same process with different outputs kept at the end. The differences are in what gets looped, what gets built on, and what gets aligned.
Learning a Part by Ear
Say a guitarist wants to work out an acoustic part from a recording. The prompt is "isolate acoustic guitar," the output kept is Isolated sound, and the hardest bar gets looped in a practice app or DAW. Each attempt is compared with the original recording, which catches the case where a fingering sounds plausible against the isolated track but doesn't match the part in the full mix. Drummers doing the reverse, playing along with the drums removed, can follow the approach in the guide to drumless play-along tracks.
Building a Remix or Backing Track
For a remix, isolate the vocals and keep Isolated sound for the lead, then keep Background audio as the backing bed. Check the hardest chorus before building anything on either file, because bleed that sounds minor at the start becomes structural once new parts are layered over it. Readers focused specifically on singing over the result will find the vocal removal decision covered in the karaoke vocal removal guide, and the stems versus audio isolation comparison explains what separated parts can and can't recreate from an original session.
Working From Video
To isolate audio from a video, upload a supported MP4 or MOV, describe the audible source, and review Isolated sound or Background audio. The result comes back as audio rather than a finished video, since video downloads are WAV audio. The chosen track therefore needs to be aligned with the picture in a video editor, with timing matched against the original before export. Checking sync on a sharp transient, such as a snare hit on a visible downbeat, is more reliable than nudging by eye.
Check Rights Before You Publish
Separation doesn't clear anything for reuse. Extracting a part from a recording changes its form, not its ownership, so publishing decisions need a rights check before a remix, backing track or video goes out.
The U.S. Copyright Office guidance for musicians explains that a recorded song can contain two distinct protected works, the musical work such as the composition and lyrics, and the sound recording, which is the fixed audio performance. Those rights may be owned and licensed separately. Sampling a guitar riff, piano line or drum part can therefore involve rights in both the underlying musical work and the recording itself.
Before publishing, confirm whether the source is public domain, obtain the relevant permission or license, or determine whether a statutory limitation applies. There's no universal "safe" number of seconds that can always be used without permission, so a short extracted passage isn't cleared by its length alone. Keeping a written note of the source and the permission for each project is a small habit that prevents larger problems later. The guide on how to create a remix is a useful companion once that question is settled.
Plan details and credit pricing can change. Check the current pricing page and the cost shown on the results screen before choosing an AI WAV download.
Pick one song, name one instrument, and judge the result on its busiest chorus rather than its quiet intro. Saturalabs lets you upload an MP3, WAV, MP4 or MOV up to 50 MiB (52.43 MB), describe a single audible source, and compare Isolated sound against Background audio before downloading. Run the first pass, listen to both tracks against the original, and keep only the one that survives the hardest passage.